Bring Your Photos to Life with the Magic of Fog and Mist
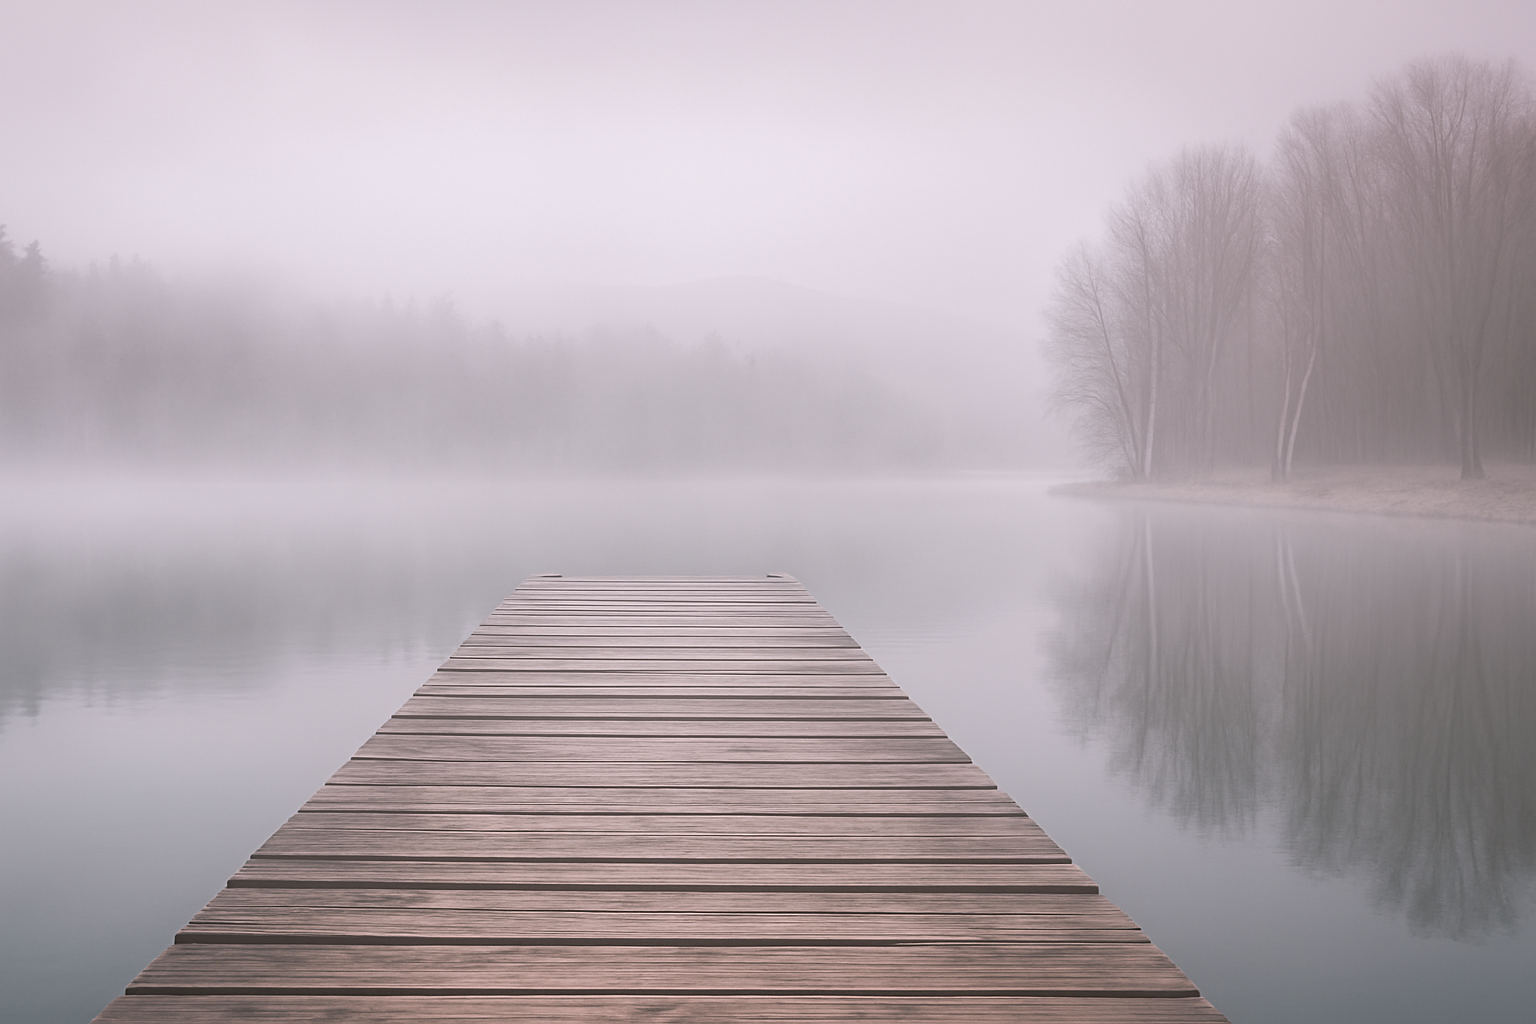
Who doesn’t love a touch of mystery and romance? That dreamy, otherworldly fog hovering over calm water, invoking a sense of tranquility, has a way of pulling viewers into a scene. If you’re curious about adding this breathtaking effect to your photos, you’ve landed on the right post. Today, let’s dive into the captivating process of creating realistic fog and mist in Photoshop, transforming your visuals into ethereal masterpieces.
Revisiting the Classic: A Photoshop Makeover
Photoshop has long been the playground for creatives seeking to add an artistic flair to their work. But, just like your favorite apps, it comes with updates. This tutorial echoes those nostalgic past versions while adding a modern twist with new techniques. If you’re familiar with the older versions, prepare yourself for a more realistic and nuanced fog effect. Let’s craft this magical illusion, step-by-layered-step, to upgrade your Photoshop skills.
Getting Started: Smart Moves with Smart Objects
First things first: converting your image into a Smart Object. This essential step ensures that any alterations made are non-destructive. Press that tiny icon at the upper right of the Layers panel and select Convert to Smart Object. It’s like bubble wrap for your photo—keeping it safe and intact while you make your magical edits.
Make a copy of this smart object layer by pressing Ctrl or Command + J. Safety in numbers, right?
Sculpting the Mist: Camera Raw Filter Settings
To embark on this misty adventure, head over to the Filter menu and find the Camera Raw Filter. This tool is the wizard’s wand of Photoshop, allowing you to make significant adjustments easily. Start by opening up the Basic settings. Got them all at zero? Perfect, let’s get adjusting!
– Contrast: -100
– Highlights: 10
– Shadows: 20
– Clarity: 40
– Dehaze: -100
These settings create the fogs’ foundation, giving your photo that soft, diffuse glow.
Next up, we venture into the realm of Effects. Just one word: Grain – set that to 70. A touch of grain mimics the inconsistent texture often found in natural fog.
Feathering & Layer Masking: The Art of Subtle Touches
The trick to a realistic mist effect is all in the subtle transitions. By utilizing the Gradient Tool, you add depth with a layer mask. Click the Layer Mask icon next to your active layer and prepare your gradient from black to transparent.
– Bottom: Drag from just below the document to the bottom of the mist layer, holding Shift to maintain a straight line. This blacks it out, allowing the bottom layer to peek through.
– Top: Set the gradient opacity to 40% for a more delicate transition. Again, drag it from above your document to the roof of whatever ethereal element (or shack) crowns your scene.
Going Deep: Adding Surface Mist
Your canvas now needs some surface fog. Add a new layer and play with Filter > Render > Clouds. Watch Photoshop whip up some cloud-like texture with ease. Repeat the Smart Object safety step, change its blend mode to “Screen,” and set opacity to 20%.
Transform the mist into the perfect length using Ctrl or Command + T. Check the link icon isn’t active so you can freely alter dimensions. Type in 500 for width, hit that enter key, and voila!
Master of the Mist: Blurring the Lines
Create a layer mask for your Clouds layer and return to our trusty Gradient Tool. With opacity back at 100%, work the tool from the middle to balance top and bottom fog levels. A touch of Gaussian Blur at 10 pixels softens the edges, perfecting the fantasy layer.
Lastly, duplicate the Clouds layer, switch its blend mode to “Soft Light,” and bump up the opacity to 70%. Finish off with a gentle nudge using the Move Tool, placing the mist exactly where it whispers the most captivating story.
Embrace Your Inner Fog Whisperer
And there it is—your guide to unleashing the foggy realms of your photographs. Get ready to hypnotize your audience with the serene allure only mist can bring. Remember, Photoshop is a vast toolbox, every correction layer another brushstroke on your digital canvas. So keep exploring, keep experimenting, and let those surreal scenes bring new light—or mist—to your creative work. Who knows what other visual wonders await in the layers of Photoshop? The fog may settle, but your creativity certainly won’t.
But enough chatter, get in there and transform the mundane into the magical. Happy editing!


