Reimagining Photography with a Brush of Van Gogh
Have you ever gazed into a Van Gogh painting, mesmerized by its thick swirls and vibrant tones, wishing you could capture that in your own photographs? Well, buckle up, because we’re about to dive into a Photoshop transformation that will bring out the inner artist in your images. With a dash of creativity and a few Photoshop tricks, you can craft an impressionist oil painting from your photos in the blink of an eye.
Preparation Is Key – Starting Your Artistic Journey
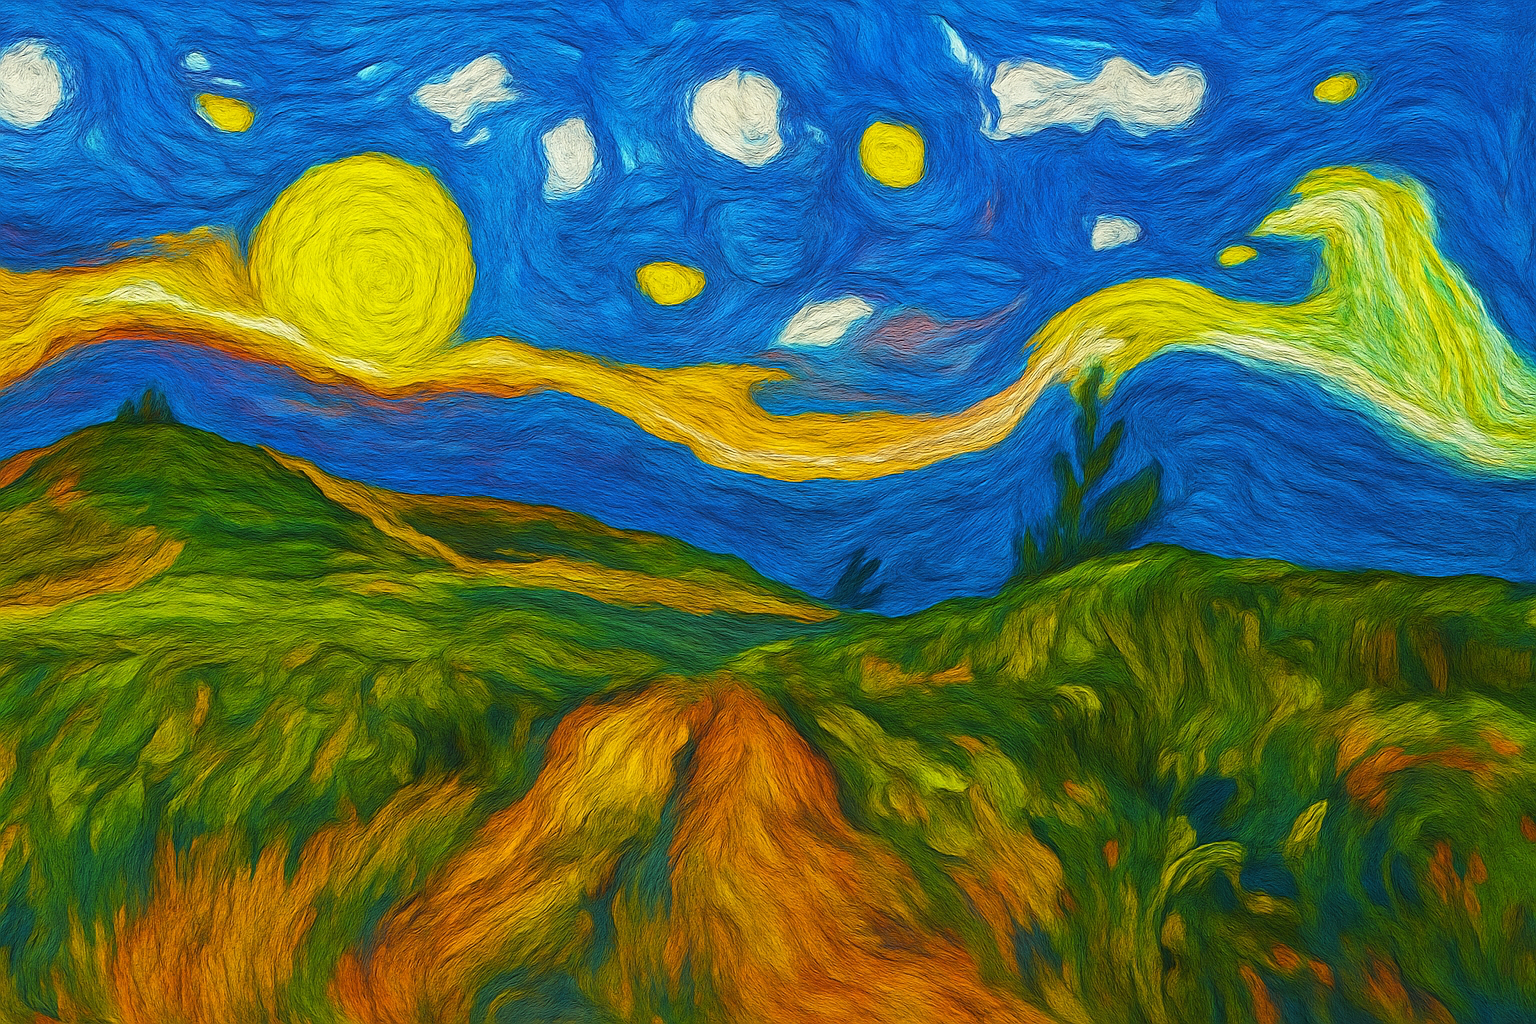
Before diving into our Photoshop brushworks, make sure you’ve selected the right photo. Landscapes tend to work like a charm for this Van Gogh-style transformation (we’re tapping into a bit of “Starry Night” energy here). Ensure your image is around 1920×1080 pixels with a resolution of 150 pixels per inch for optimal results.
Setting the Stage – Adjusting the Curves & Vibrance
- Find Your Colors: First, we’ll tweak the darker and lighter tones of your image using Curves in adjustment layers.
- Vibrance Adjustment: Crank up the vibrancy to +100 to make those colors pop, breathing life into the photograph much like the vivid palettes Van Gogh utilized.
Brush Strokes that Speak Volumes
- Tools Required: Use the Brush Tool and navigate the brimming library of Legacy Brushes. Personally, I’d opt for the “Smoother Round Bristle” brush for a finer touch.
- Brush Tips: Customize your brush size with keyboard shortcuts (right or left brackets). Create layers of color by clicking multiple times, building the depth and vibrancy Van Gogh is celebrated for.
Bringing the Vision to Life – Filters Galore
- Distortion Meets Glass: Applying the Glass Filter gives your photo a textured canvas feel.
- Oil Paint Filter: Indulge in the stylistic zhoosh! Set the stylization to 10, bristle detail to 10, and a nifty angle trick of -60 degrees for that Van Gogh flair.
- Paint Dabs Filter: This choice lays an undercurrent layer of artistic brush strokes, but it may sometimes blur the brighter details, which we can adjust using a layer mask.
Refining Details and Adding Depth
To truly illustrate the depth and contrast as seen in Van Gogh’s masterpieces, the Dodge and Burn tools become imperative:
- Dodge Tool: Lighten the mid-tones and highlights, adding emphasis where the sunlight kisses the landscape.
- Burn Tool: Darken the shadows, enhancing contrast and drawing focus throughout the piece.
Manipulating Form – The Van Gogh Warp
And now for the magic trick – the Warp Tool. Here, we create the signature curvatures, ripples, and swirls with a simple click and drag technique. Each maneuver bends the reality of your photo, echoing the iconic vibration of an impressionist masterpiece.
Final Flair – Saturation & Shine
As we approach our pièce de résistance, one must not forget to add that final spark:
- Vibrancy and Saturation: Up the saturation by 25 after boosting vibrancy to 100. This will ensure every brush stroke and color sings out from the canvas.
- Final Oil Paint Filter: With a twist, apply a final touch of the oil paint filter – ensuring those strokes leap out with dimension and gleam. Set stylization to 1, cleanliness to 8, and shine to 2 for the finishing touch.
At the end of your editing journey, take a step back and behold your newly minted Van Gogh-style masterpiece. The satisfying melding of a digital photograph with the charm of historical art styles, all thanks to your Photoshop prowess, will leave you – and onlookers – absolutely floored. Let your imagination run wild, and see how your photos transform with just a few clicks!


