Turn Your Photos Into Stunning Works of Art with This Photoshop Technique
In the vast universe of Photoshop edits, have you ever wondered how to transform an ordinary photo of a face into a masterpiece of nature—a colossal granite rock sculpture? Sounds cool, right? Well, get ready to channel your inner Michelangelo, because today, we’re doing just that! This tutorial is all about taking a humble photo and morphing it into a grand sculpture with the mighty power of Photoshop. Ready to rock and roll? Let’s dive in!
The Tools of the Trade
Before diving into the details, it’s crucial to have the right tools at hand (or shall we say right clicks?). To save time and help accompany you through this creative journey, we’ve prepared a Photoshop template available for download. This template includes a two-layer setup: a beautiful seascape background and a marvelous granite texture. If you’re inspired by Michelangelo and wish to customize your digital chisel’s stone, feel free to swap the seascape with your chosen background, but ensure it’s 150 pixels per inch in resolution. This gives you that fine detail to really shine through.
Lights, Camera, Sculpt!
- Select a focused close-up shot of your chosen subject—preferably one with lighting that throws a dramatic shadow across the face. A stock photo download from sites like Shutterstock could work wonders if you don’t have the right photo on hand.
- Begin by duplicating the image, which allows you to have a safe, untouched version of your original.
- If the shadows hide too much detail, you can tweak them using the “Shadows/Highlights” feature. It’s all about finding that perfect balance of light and detail to mimic the natural play of light on stone.
Isolating and Embedding Your Subject
- Using selection tools like the Pen Tool, create a defined path around your subject’s head, then feather the selection for a gentle transition with the background.
- Once isolated and placed against the seascape, resize for a monumental look, desaturate the image, and flip if needed to match lighting direction.
Texture Transformation
- Create a displacement map from the head image to give the granite texture an authentic, weathered look. Blur the map using Gaussian Blur and save as a PSD file.
Smart Layering
- Convert your head layer to a smart object to enable non-destructive editing. Apply the “Median” filter for a uniform surface.
- Apply the granite texture over your image, set the blend mode to “Overlay”, and use the displacement filter to wrap the texture onto the subject’s features.
Finishing Touches with Tonal Adjustments
- Use a Curves Adjustment layer to tweak shadows, midtones, and highlights for ideal tonality.
- Group the head-related layers into a folder labeled “head” for workspace organization.
Detailing the Background
- Add the “Oil Paint” filter to the background for a dreamy, soft-focus effect.
- Apply a black and white adjustment layer over the whole scene, refining color channels for a dramatic grayscale look.
Surge of Surreal
- Use a Color Lookup adjustment layer set to “late sunset” at 60 percent opacity to add golden hour warmth.
- Lightly paint highlights along the face edge on a Soft Light layer and add subtle shadows for depth and realism.
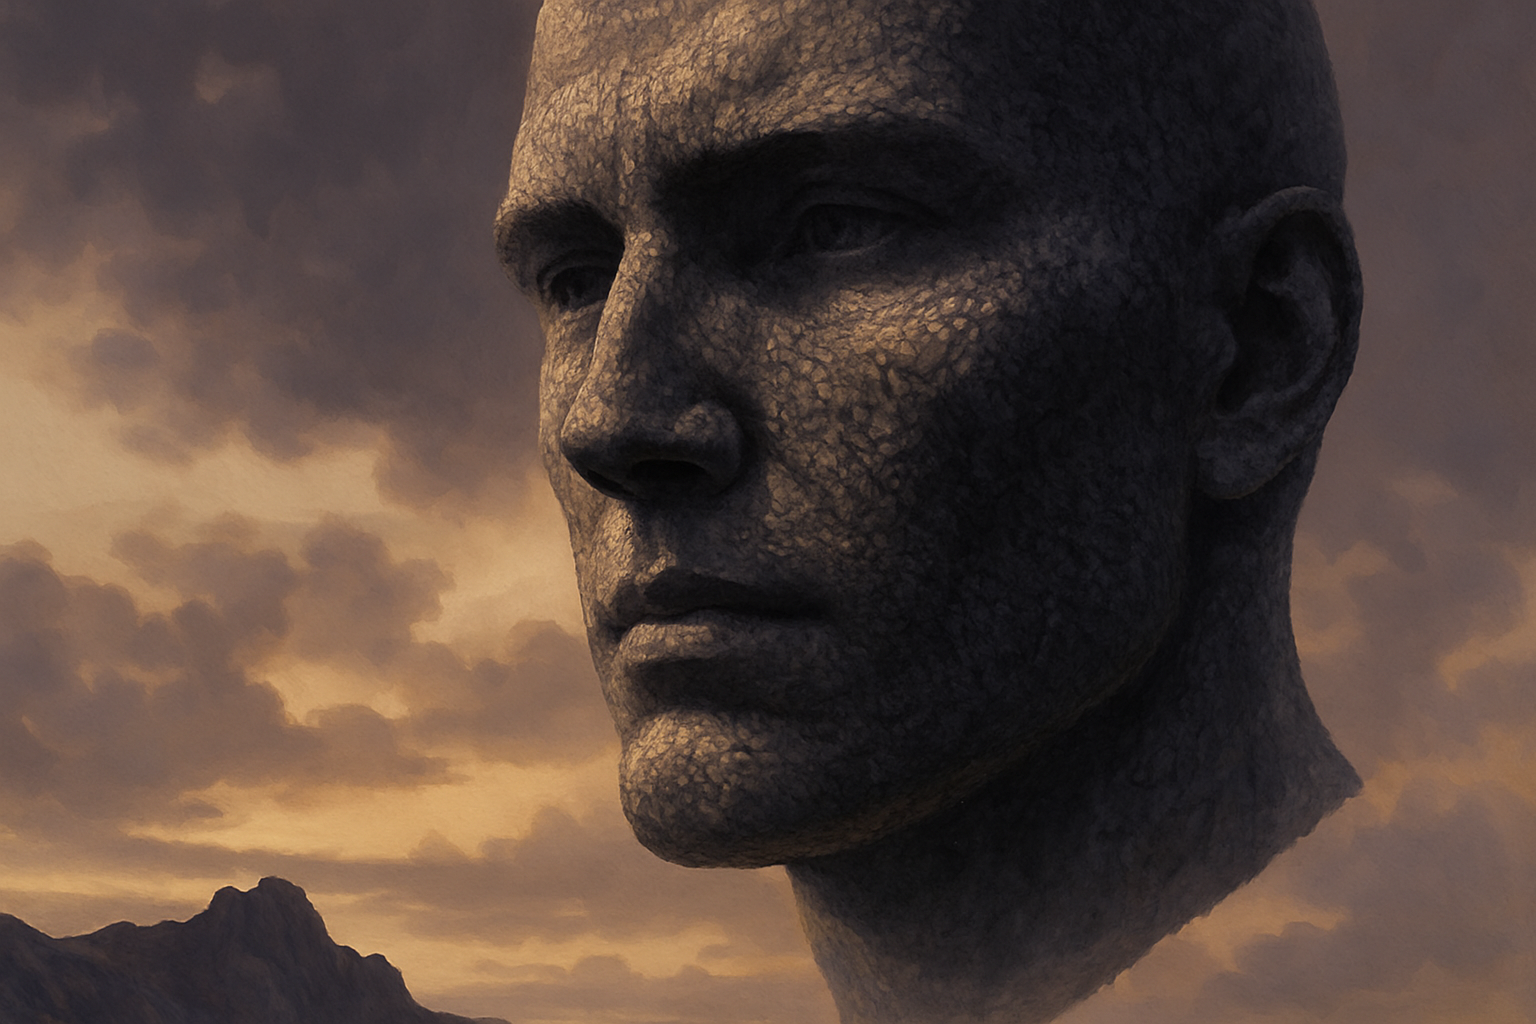
So there you have it—a transformation of epic proportions all crafted within the digital realm. Stand back and admire your digital sculpting handiwork. With these techniques in your Photoshop toolkit, every photo has the potential to be monumental!


