Unleashing the Power of Colors in Photoshop
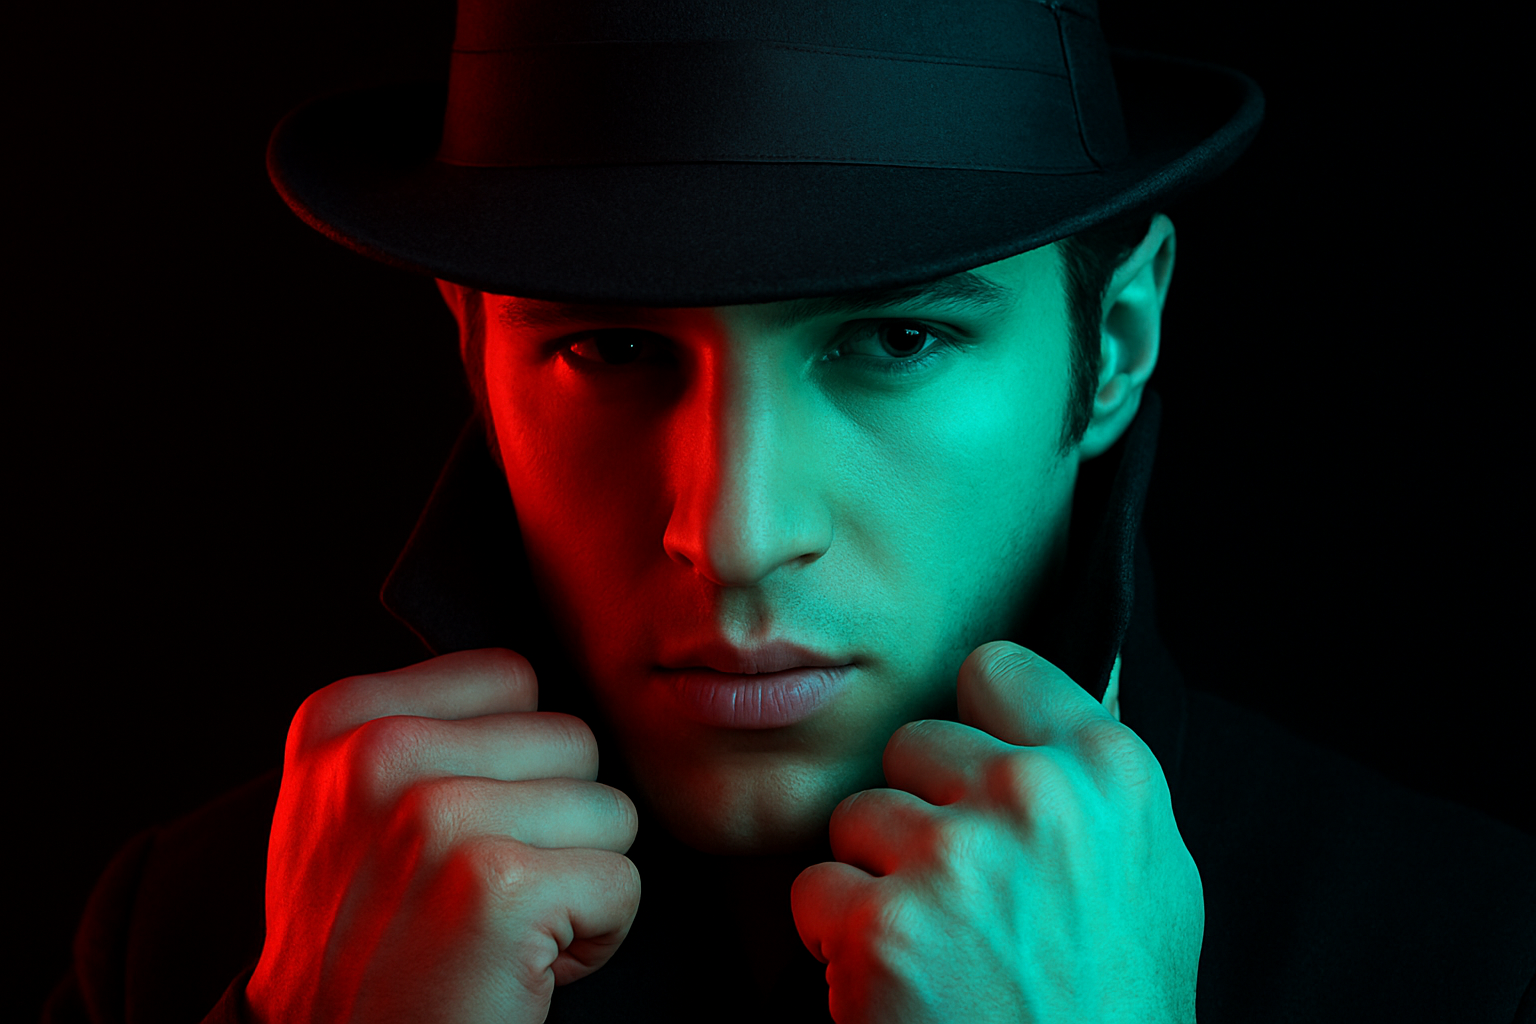
As creatives, we often find ourselves experimenting with colors, styles, and techniques to breathe life into ordinary images. One artistic avenue to explore in image editing is the dynamic interplay of colors. Ever wondered how to create a dramatic red and blue face portrait? Well, look no further. This post will guide you through a step-by-step process using Adobe Photoshop, showcasing how you can transform a simple portrait into something remarkably cinematic.
Dive Into the Process
Before we delve into the nitty-gritty of the process, it’s essential to start with a high-resolution photo with your subject facing forward, preferably dramatically lit from both sides. A black background is ideal to emphasize the color contrast, but if your image has a different background, separate the subject from it. The smart use of layers in Photoshop will allow us to manipulate our image while keeping everything nondestructive.
Step-by-Step Guide
- 1. Preparing Your Canvas
First up, make sure you’ve got your playground ready. Open your desired high-res image in Photoshop. If your subject isn’t already on a discerning dark background, wrap them up from the backdrop using a selection tool—there are countless methods here, and no need to reinvent the wheel if you’ve covered these ground in past tutorials. - 2. Setting the Stage with Layers
Layers are your best friends. They allow you to create various effects without compromising the base image. Once you’ve created a selection around your subject, apply a layer mask to keep things tidy. Next, create a black empty layer below your image. Before you panic over colors, make sure your workspace is initially set to black and white with the ‘D’ key. - 3. Let’s Get Smart (with Objects)
Converting images into Smart Objects allows you to toy with them non-destructively. This means you can revert any changes at any point without feeling like you’ve doomed your masterpiece. Group all your layers and convert them into a Smart Object by using the “Convert to Smart Object” option. - 4. Entering the Color Realm
Here’s where the magic unfolds. Duplicate your Smart Object twice. Label the bottom duplicate ‘Red,’ the middle one ‘Blue,’ and the last one ‘Overlay.’ Hide the ‘Blue’ and ‘Overlay’ layers for now, focusing on the ‘Red’ layer first. Modify its layer style to disable the Green and Blue channels, essentially draining the image of these hues, leaving only the robust and bold red to reign.
Likewise, tweak the ‘Blue’ layer by disabling the Red channel, reviving the noble blues. Combine these modified Smart Objects. - 5. Overlays and Blending Modes
Assemble the ‘Red,’ ‘Blue,’ and now the visible ‘Overlay’ layer, altering its blending mode to Overlay and dialing down its opacity to around 50%. This gently fuses your alterations into a cohesive piece. - 6. Adding Depth with Gradients
To breathe more life into your artwork, adorn your setup with a cool gradient. Enable a layer mask on the ‘Blue’ layer, choosing Linear Gradient from the menu. Use the Black & White gradient, then commence your creation from one cheek to the other while holding ‘Shift’; this ensures a straight gradient, imbuing the face with dynamic shadows. - 7. Finishing Touches: Apply Sharper, Brighter Textures
For that crisp, detailed finish, transform all layers into a single Smart Object once more. Visit the Filter Gallery, pick from the Artistic folder, and whisk that Paint Daubs effect for finer brush strokes, adjusting settings for the brush size (1), sharpness (14), and a simple brush type.
Voila! You’ve transformed an image into a photographical artwork that looks ripped straight from the binds of a high-budget flick.
Wrapping Up
Fine-tuning an image with carefully controlled palettes and layered depth is a real exploration of creativity. While it may feel like being the Leonardo Da Vinci of the digital realm, remember—you are in the driver’s seat, and Photoshop is your trusty vehicle. More than a bunch of techniques, it’s about visually quarrying emotion from bits and pixels. Feel empowered to innovate further with alternate colors, structures, effects, and more. For more digital alchemy and tech wizardry, stay tuned with us at Blue Lighting TV!
Happy Editing!
Additional Tips for Enthusiasts
- Experiment with gradient maps to swiftly alter the mood of your piece.
- Play with different blending modes to discover hidden gems of effects.
- Remember, Shortcut keys are lifesavers, speeding up the process like a Gnarly Sachem fast lane!
With every tool and layer at your disposal, the key is to explore, tweak, and—most importantly—have fun with it.


