Transform Your Art into Urban Street Vibes
If you’ve ever wanted to give your digital artwork a realistic, urban feel—akin to those gritty, weathered posters you could find on city walls—then you’re in luck. Today, we’re diving into how to craft this look using Adobe Photoshop. This technique is perfect for anyone looking to create edgy, contemporary visuals that stand out on both social media and in portfolios. We will walk through how to equip your digital brush with a deep urban vibe, while also making your work as flexible and powerful as possible. Yep, it’s gritty, but also incredibly cool.
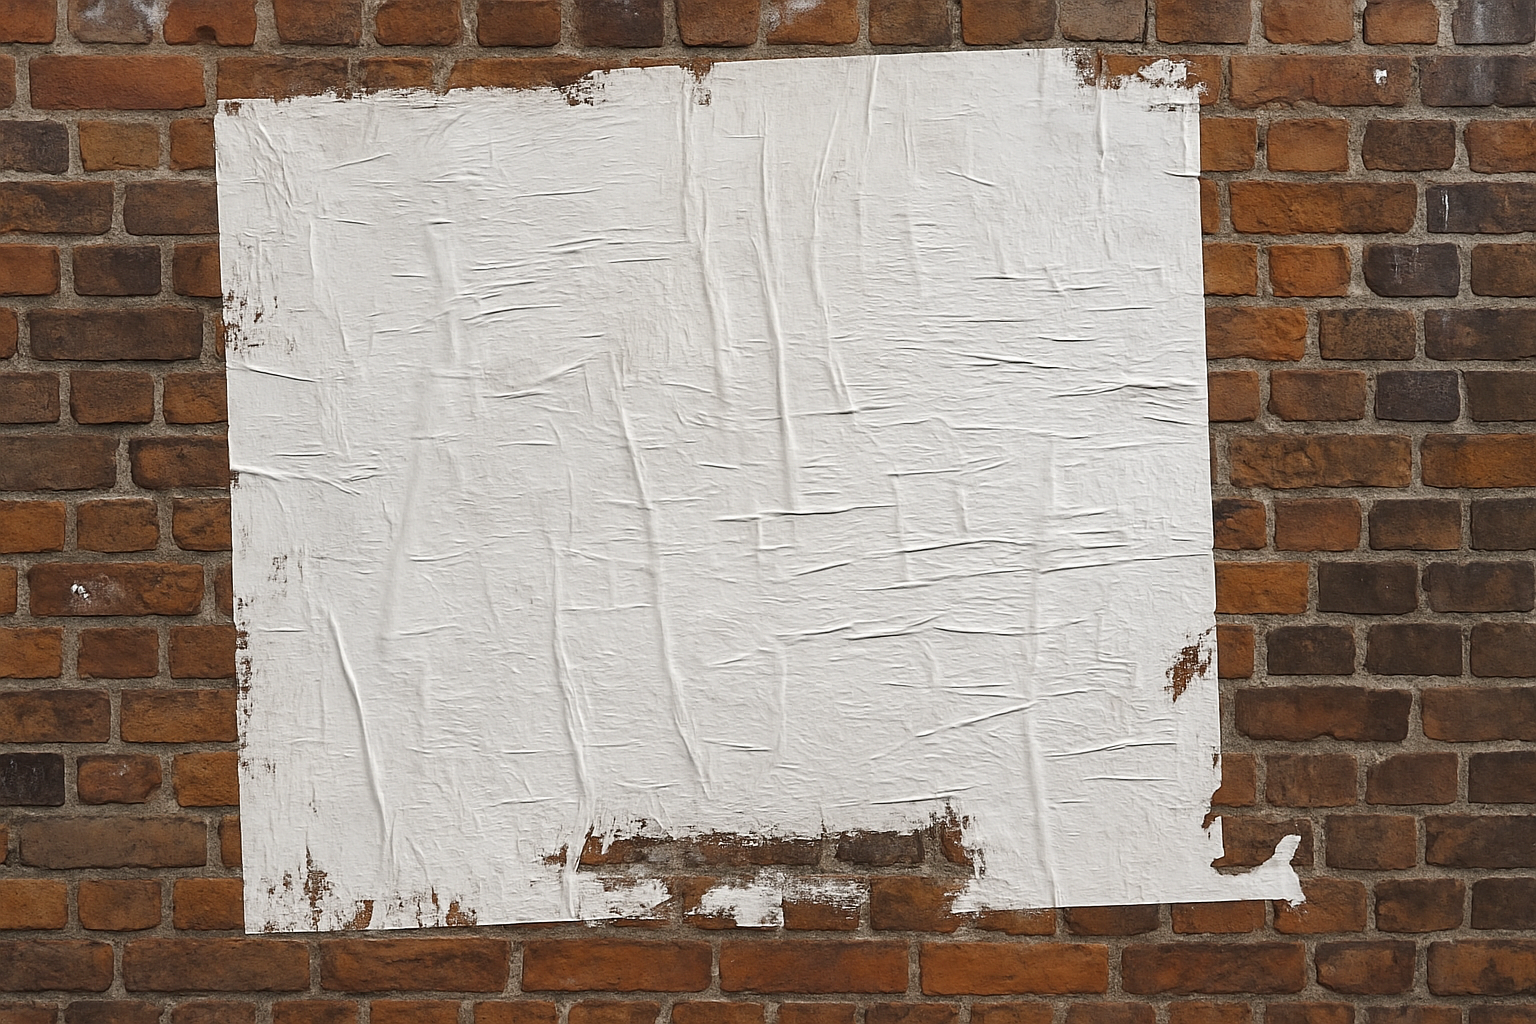
Getting Set Up: Files and Textures
First things first: prepare your canvas with the essentials. For this project, you’ll need a Photoshop file featuring a brick wall and a puckered paper texture. You can find these assets in the video’s description. The puckered paper texture is a game changer, acting as both the base of your poster and the magic behind its displacement map. The displacement map is what will make your graphics and text hug the contours of the paper, adding authentic depth and dimension.
Additionally, a set of grunge brushes is needed—available via a link in the video description—to help reveal the brick wall beneath your poster. Install these brushes now, then restart Photoshop to ensure they’re ready for action.
Create the Poster Base
With your canvas open and assets prepped, the first step involves creating a “Displacement” layer. Converting this into a Smart Object will allow you to modify any adjustments non-destructively. Increase the contrast of this paper base using the Levels adjustment — set shadows, midtones, and highlights as per personal style (Input Shadow: 63, Midtones: 0.75, Highlights: 223). Add a light Gaussian Blur of 4 pixels, and save this as a PSD file on your desktop for easy access. Ingenious, right?
Adding Your Text
Next up: text, the backbone of your urban poster. Fire up the Horizontal Type Tool and select a bold font like “Berthold Akzidenz Grotesk Bold”. Play around with size, alignment, and even anti-aliasing options like “Crisp” to start building your message. Adjust the spacing of lines and characters using the Leading and Tracking options. Want to electrify a line of text with color? Highlight it, click on the color box and take your pick, or enter a hexadecimal code if you already have a vision.
Bring on the Graphics
Once your text is locked and loaded, it’s time to add some graphics. Use the same neat trick of converting all designing elements into a single Smart Object to keep everything beautifully organized and easily editable. Switch the Blend Mode of this smart object to “Color Burn”. Here’s where it gets spicy: enjoy tweaking the “Blend If” feature to composite layers based on tonal ranges. The experience fosters creativity and invites experimentation until the aesthetic simply hits right.
Touch Up with Texture
To really cement that weathered vibe, angle your poster using the Transform Tool and apply a bit of rotation. We’re talking urban coolness tilted like a Sinatra fedora. Using the grunge brushes, chip away at specific poster areas to reveal that charming brick wall with subtle detail. If you paint away too much or too little? No problem; switch foreground and background colors, and touch it up as needed.
Final Artistic Flourishes
To finish your urban poster masterwork, adjust the overall image brightness by adding another Levels adjustment. This will ensure your poster retains its vibrancy and enlivens the scene, whether it’s standing out on a digital cityscape or quietly asserting urban credibility in your portfolio.
Remember that practice makes perfect. Photoshop is as much a playground as it is a tool. Dive back in, refine these techniques, and truly make them your own. The streets (both digital and real) have never looked so artfully distressed.
Keep creating, keep exploring, and keep pushing those urban boundaries. Let’s make the Photoshop streets your own sidewalk gallery!


