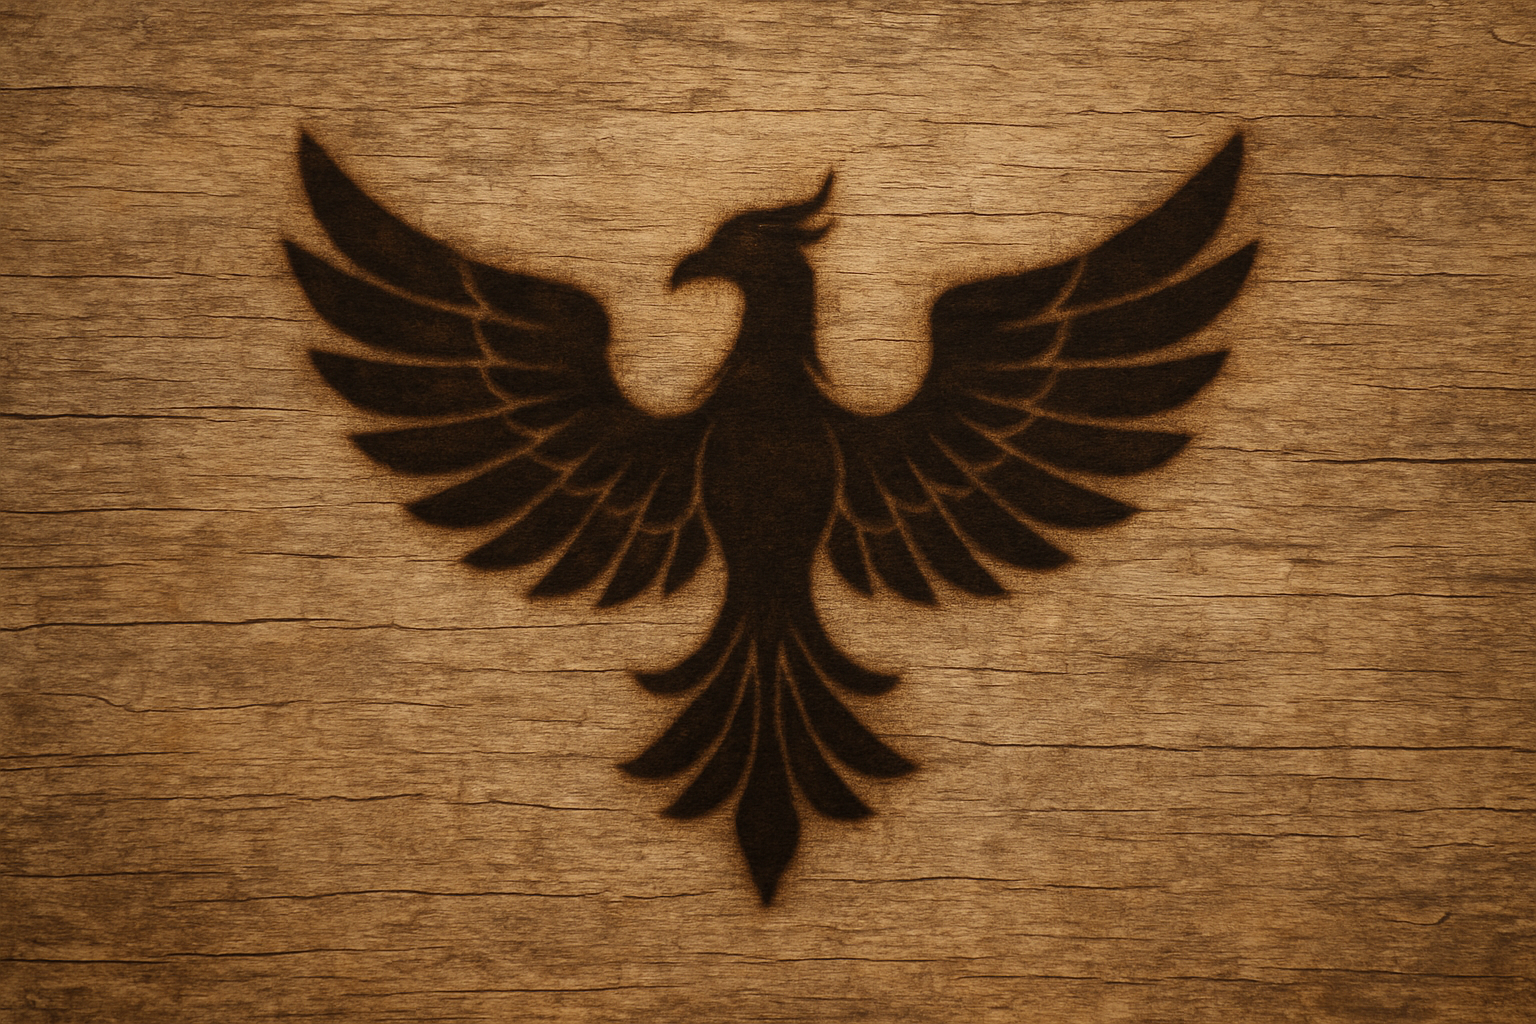
Create a Vintage Burned Wood Effect with Ease
For any Photoshop enthusiast looking to add a touch of rustic realism to their design projects, a wood brand effect can be a game-changer. Whether you’re crafting a vintage logo, a themed poster, or just want to add that artisanal touch to your graphics, nailing the look of a branded wood logo can set your work apart. With just a few streamlined steps and some Photoshop magic, you can create this effect seamlessly, as explored in Blue Lighting TV’s comprehensive tutorial.
Getting Started: Gather Your Materials
To kick things off, you’ll need a suitable wood texture. Fortunately, the tutorial provides a ready-to-use wood texture that can be easily downloaded from the video description. Of course, purists looking for something unique can photograph their own wooden surfaces or scour the internet for high-resolution textures.
Preparing Your Design
Begin by opening a black and white image of your desired design or text. This will be the primary visual element to burn onto the wood texture. To add text, utilize the Type Tool in Photoshop. Choose a font that complements the rustic aesthetic — something with bold and classic lines works best. Adjust the size to your liking, ensure the text is black, and then type it out.
Reposition your text as needed using the Move Tool. When satisfied, merge the layers using Ctrl (Cmd on Mac) + E.
Layer Management and Image Placement
Next, copy your design by selecting it with Ctrl (Cmd) + A and copying it with Ctrl (Cmd) + C. Paste it onto your wood texture using Ctrl (Cmd) + V. To resize the design, access the Transform Tool with Ctrl (Cmd) + T, and adjust by holding Alt (Option) + Shift while dragging.
Once positioned to your liking, make a copy of the layer using Ctrl (Cmd) + J. Temporarily hide this layer and focus on the original design layer.
Creating the Burn Effect
The essence of achieving that realistic wood brand effect lies in multiple layer manipulations and precise filter applications. Begin by converting the shape selection into a mask to eliminate the background, thus isolating the design itself. Enhancing its edges involves using Select > Modify > Expand followed by executing a series of stylized wind and blur effects to emulate the roughness and tactile imperfection of a real wood burn.
Fine-Tuning with Effects
After applying a Gaussian Blur for texture softness, adjusting the levels setting is crucial to getting that well-defined branded look. Use the Levels window to adjust the Output Levels, creating depth and natural shading.
Change the blending mode to Color Burn and reduce its opacity to enhance the brand-like impression on the wood surface. Continuing with this theme, select the layers and fill them with black, adjusting the blend and fill settings to simulate the scorched visual signature of wood branding.
Embossed Realism
Every detail, no matter how minute, contributes to the final aesthetic. This is where the Bevel & Emboss effect comes into play. Ensure that the bevel style is set to Outer Bevel, with other parameters minutely adjusted to mimic authentic wood grain rising around a heated brand.
Inner Shadow effects further complement this by giving an illusion of depth and three-dimensionality, reinforcing the tactile illusion.
Final Thoughts
From start to finish, the wood brand effect combines photographic textures with digital creativity, producing a polished and professional art piece. This technique bridges the gap between digital and organic, replicating a labor-intensive artisanal craft in seconds. Whether as a one-off design choice or a staple in your creative arsenal, mastering this effect opens up exciting possibilities for your design projects.
The art of wood branding without the heat and mess? Now that’s one magical Photoshop hack you can’t afford to miss!


