A Stroke of Genius: Embracing Photoshop’s Oil Paint Filter
The world of digital art is a vast and ever-evolving landscape of creativity and innovation. For those looking to infuse their artworks with the same allure and depth as an impressionist masterpiece, Photoshop’s Oil Paint filter emerges as a trump card. Whether you’re a seasoned Photoshop wizard or a creative soul just embarking on your digital journey, this tool can transform your ordinary snapshots into extraordinary visual stories.
The Return of a Classic
Back in the days of CS6, Adobe graced us with the oil paint filter, an enhancement over its predecessor, the pixel bender plug-in from CS5. A wave of creativity ensued until version CC’s arrival, momentarily whisking away this beloved feature. But like a Van Gogh painting pulled from a dusty attic, Adobe reintroduced it in Photoshop CC 2015.1, much to the delight of users worldwide. For those upgrading to the latest Photoshop versions, this filter promises a journey through texture and brushstroke, evolving photos into artistic expressions.
Dive into the Process
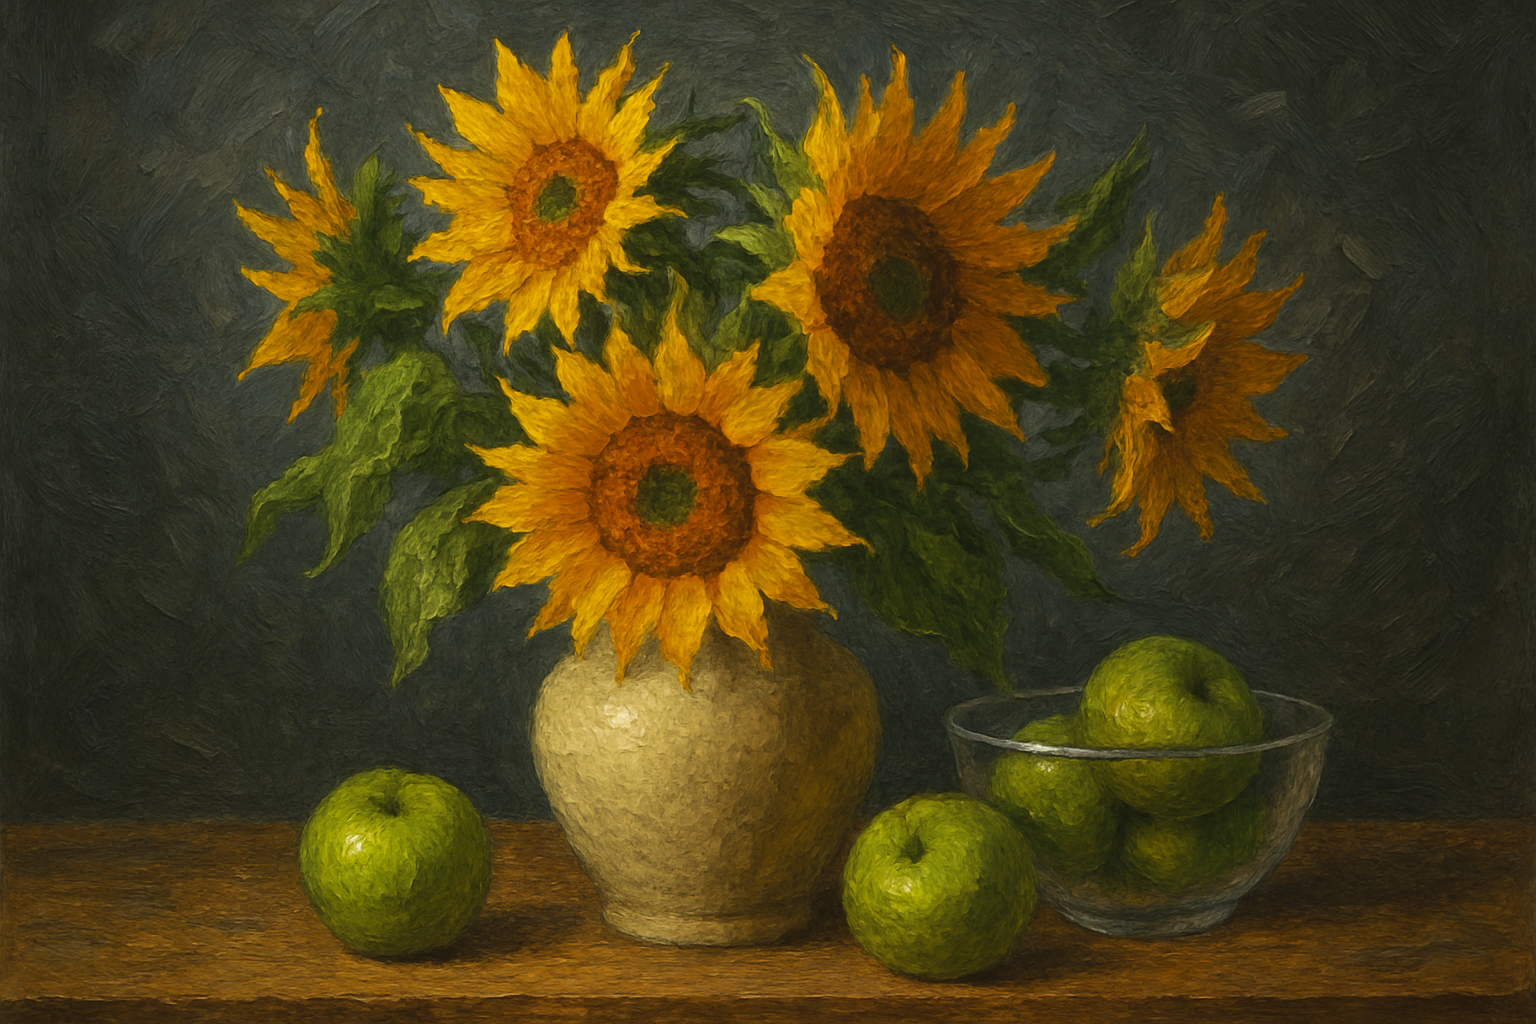
- Open a Photo: Start by selecting a photo via the Shutterstock platform, say an image with dimensions of 1456 pixels wide and high, and 150 pixels per inch resolution. Adjust your resolution to match these settings to achieve similar vibrancy in your results.
- Activate the Filter: If the oil paint filter seems inaccessible, explore the Edit > Preferences > Performance section to check the use of the graphics processor and enable OpenCL under advanced settings.
Non-Destructive Editing Wonders
Before we begin layering the oil strokes, let’s convert your photo into a smart object. This transformation allows non-destructive editing and ensures that all modifications can be effortlessly adjusted in the future. It’s like upgrading to a Photoshop HQ, where filters are eternally editable.
Add Vibrancy and Depth
Through the adjustment layer icon, navigate to vibrance and saturate as needed to enhance your image’s color palette. Sometimes, a photo requires an extra pop, especially if it dawns a muted outfit of colors.
- Liquefy Tool Dynamics: Enter Photoshop’s liquefy tool realm for a little creative reshaping. Enjoy dabbling with functions like forward warp, reconstruct, pucker, and bloat, each offering a unique touch, whether you’re inflating or shifting pixels, crafting an enhanced reality.
Unleashing the Oil Paint Effect
As you dive into the filter’s core, select Stylize > Oil Paint to morph your imagery into a dream-like tapestry of brushstrokes. Adjust settings such as stylization, cleanliness, and bristle detail with care. These attributes, combined with lighting angles and shine, possess the power to breathe life into your creation, akin to a painting echoing the strokes of Monet.
Fine-Tuning the Artistic Perspective
Once the transformation is underway, move on to sharpening the image using the unsharp mask feature found under Filter > Sharpen. Here, fine-tune settings to highlight the texture and dimension of your brushstrokes. The right balance of radius and amount can dramatically enhance your composition’s vividness.
Final Touches: A Canvas Background and Brush Stroke Harmony
To bestow the grandeur of a traditional masterpiece, layer your painted photo upon a textured canvas background. By utilizing Photoshop’s layer mask functionality, reveal the texture selectively around the edges, enriching your artwork with a touch of realism. Harness Photoshop’s dry media brushes to meticulously manage the exposure of the canvas through the layer mask for a seamless perimeter integration.
And there you have it—your photo has transcended into an impressionist painting, mastering the play of color, light, and brushwork. It’s a testament to how digital tools can recreate the enchantment of classical art for modern-day creators. Unleash the full potential of Photoshop’s Oil Paint filter, and you might just redefine what’s possible in the pixelated realm of art.
Happy painting, digital maestros! The world awaits your masterpieces with bated breath.


