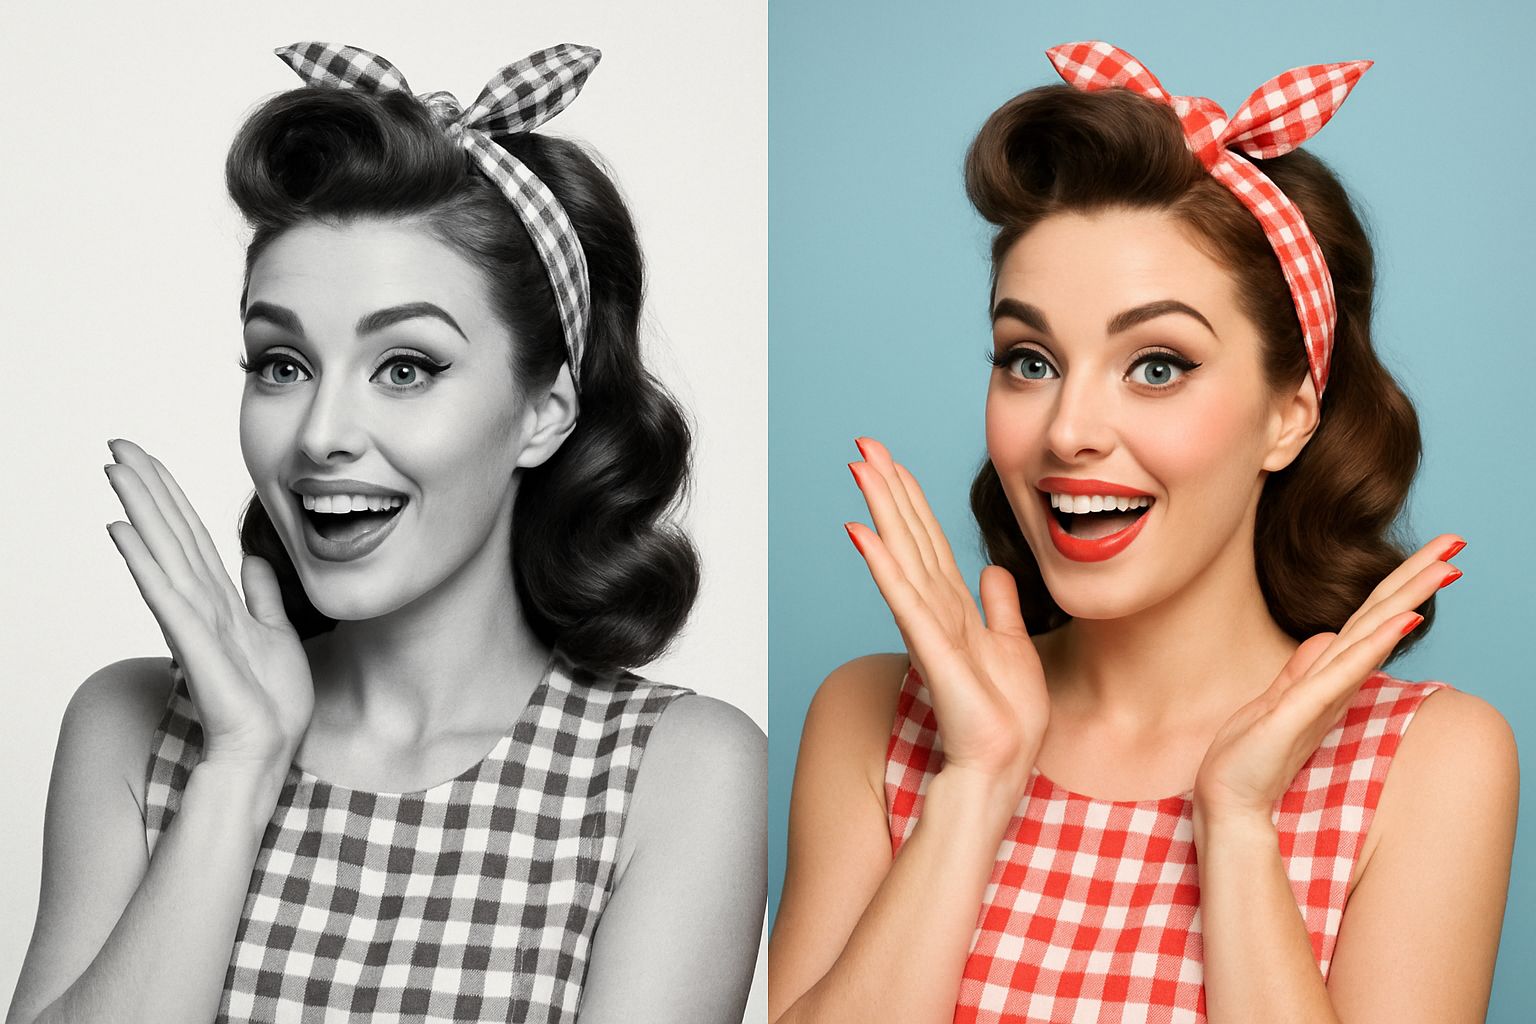
Giving Monochrome Memories a Splash of Color
Have you ever stumbled upon an old black and white photo and wished it could just pop into vibrant color? Fear not, we’ve got you covered. In this guide, we’re diving into the mesmerizing art of colorizing black and white photos. Whether it’s reviving faded family memories or putting a fresh twist on historical images, adding color breathes fresh life into monochrome marvels. We’re unpacking how to accomplish this using Adobe Photoshop’s array of tools. Let’s dive into the colorful world of photo restoration!
The Art of Choosing the Right Photo
Before diving into the nitty-gritty, it’s crucial to select the perfect black and white canvas. Shutterstock and other photo sites offer a great trove of images to work from. A clean, high-resolution image will yield the most satisfying results. Start by brightening up the darker areas of the photo. Simply head to Image > Adjustments > Shadows/Highlights and tweak those pesky shadows! Slide to your heart’s content until the photo’s details shine through.
Selections: Your Way to Color Accuracy
It’s time to channel your inner Picasso and start defining the personal corners of your canvas. Precision is key, and here comes the Quick Selection tool! For those who are equally curious and skeptical, this nifty little brush allows you to define areas of your photo with varying brush sizes (5-10 pixels).
Tip: As you refine your selections, a press of the Q key can transform your selection into a Quick Mask and back again.
After isolation, use the Refine Edge tool (Select > Refine Edge) for precision refinement. This tool is your best friend, giving smooth edges and smart radius selection—just what you need when things get edgy.
Ready, Set, Color!
Once selections are as polished as your grandmother’s silverware, it’s time to bring in some color. By using Solid Color Adjustment Layers, your selected areas will don new hues in no time. The initial selection turns into a layer, effectively masking the area to inject color seamlessly. It’s here you’ll choose your desired color through the Hex Field or simply muse over different shades.
If you find yourself in a blend-mode conundrum, remember this: “Multiply” is your go-to for white backgrounds, while “Color” and “Overlay” add flair to colored ones. Tweak opacities to give the added color some tailored subtlety.
Return of the Quick Selection Tool
Now that you’ve mastered one section, why stop there? Reignite the Quick Selection tool to tackle new sections, be it the wisps of hair or the veil of clothing. Don’t forget to refine those edges each time for picture-perfect precision. Continue to paint the world of your photo, letting each layer uncover another story waiting to be told.
Brush Up with Airbrush Techniques
Looking to add that final touch? The Brush Tool lets you play with delicate airbrush colors. Create a snapshot of your masterpiece, contemplating how layers mesh together with Cmd/Ctrl + Shift + Alt/Option + E.
Set your brush to a gentle 0% hardness, 50% opacity, and a color blend mode to softly overlay airbrushed hues where they’re needed most.
Colorize, Customize, Craft
With a brush in one hand and a color palette in the other, nothing is stopping you from painting reality onto your black and white photos. As you weave through selections, brush adjustments, and the refining process, remember this: colorization is more than a process—it’s a way to turn nostalgia into vibrant, lively memories.
So get creative, experiment with hues, and surprise yourself by transforming those photos into something that blends the timeless essence of the past with the vibrant hues of the present. Happy colorizing!


