Bring Nature’s Melancholy into Your Art with a Rainy Window Effect
Oh, the serenity of watching raindrops trickling down a windowpane! There’s something about this scene that resonates with quiet reflection and moodiness. If you’ve ever wanted to recreate this peaceful yet poignant view in your digital artwork, you’re in for a treat. Today, we’re taking a journey into the world of Photoshop magic by crafting an image of a recognizable view as seen through a rain-dappled window—perfect for setting a scene or conveying a particular vibe in your creative projects.
Setting Up Your Visual Rainstorm
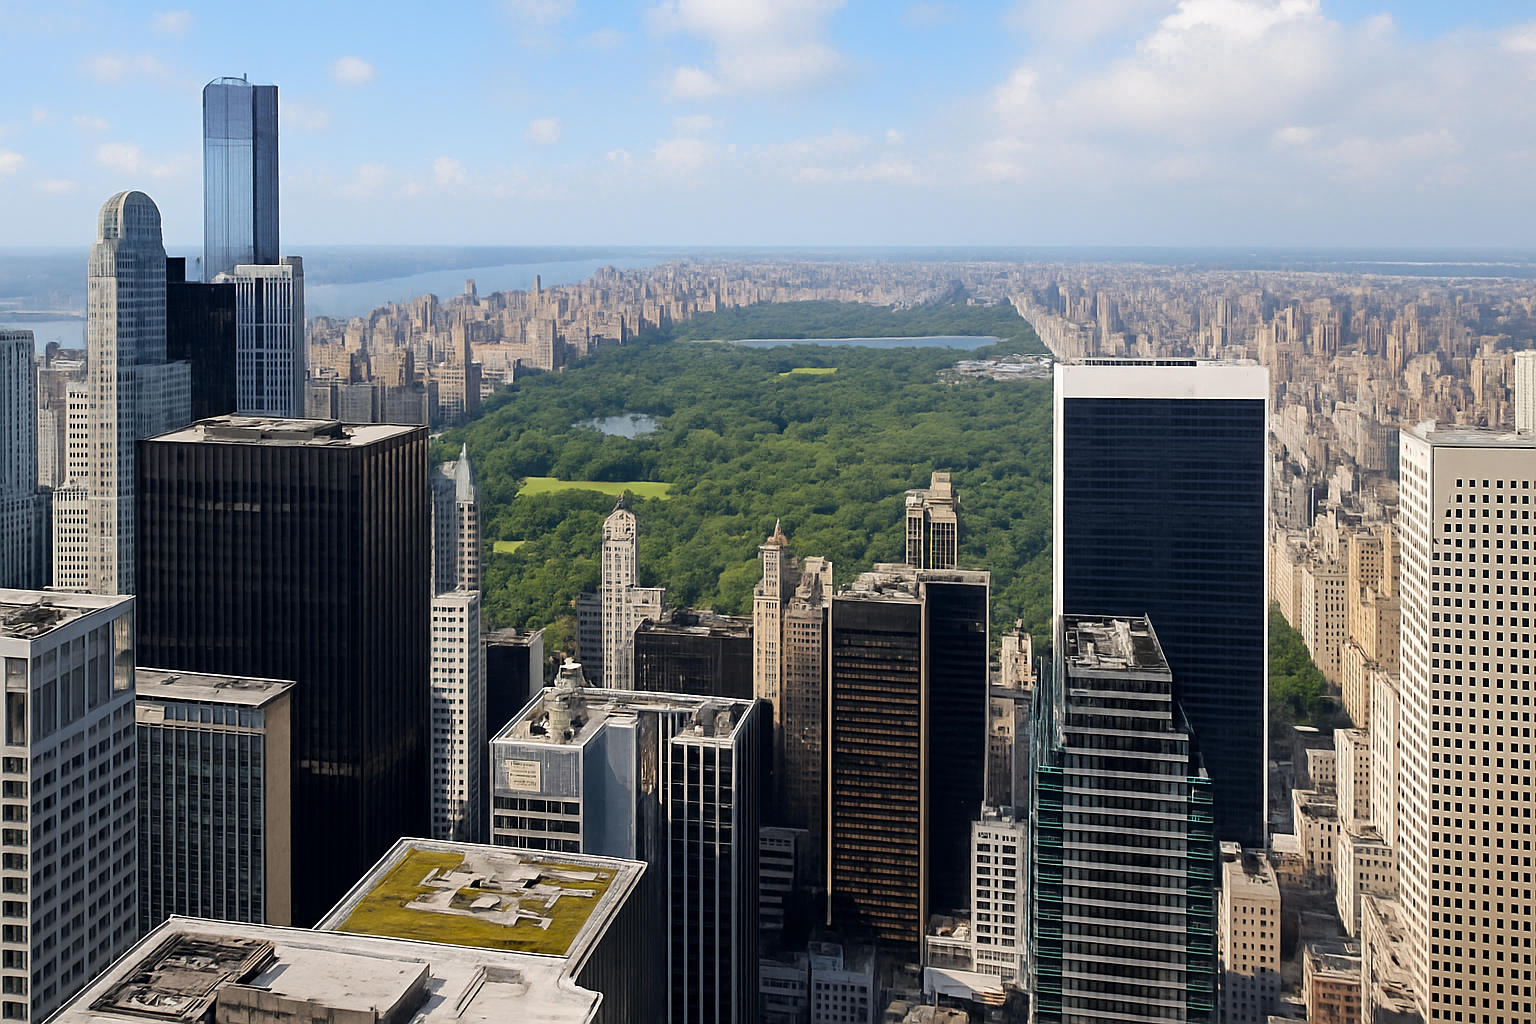
To start on this creative endeavor, you’ll need an image that depicts the view you want to see outside your “window.” Maybe it’s an urban landscape blurred by mist, or a serene countryside scene affected by drizzle. For those meticulous by nature, consider sourcing high-quality images from sites like Shutterstock.
As for the raindrops on the windowpane, I’ve lovingly provided a raindrop texture that you can download from the video’s description or the project files. Think of this as the canvas for your rain.
Layering the Elements
First, let’s get your chosen view into the raindrop document in Photoshop. Using the Move Tool (shortcut: “V”), drag your image onto the document tab with the raindrop texture. Here’s a pro tip: hold down the Shift key to keep your image perfectly centered as you release it onto the raindrop canvas.
Now that you’ve laid down the view, it’s essential to adjust its size perfectly. Activate the Transform Tool by using Ctrl or Cmd + T. Once you see that transform’s bounding box, you can scale the image while keeping proportions intact by holding down Alt or Option + Shift while dragging from a corner.
Finessing the Rain Effect
Now, this wouldn’t be a rain effect if our raindrops didn’t stand out, right? Tweak the visibility of these drops by minimizing noise and enhancing clarity. Start by clicking Filter, navigating to Camera Raw Filter, and sliding “Luminance” under Noise Reduction straight to the max. It’s a simple yet effective way to turn down the static and turn up the shine.
Once done, change the Blend Mode of your raindrop layer to “Screen” so it integrates beautifully over your view. Now let’s play with Brightness and Contrast using Adjustment Layers to make sure those raindrops pop and your image maintains its captivating aura.
Enhancing the Atmosphere with Additional Effects
Every raindrop has a rainbow, and every rain effect has layers! Copy your first layer with Ctrl or Cmd + J, and let’s name these layers for clarity. We’ll call one “Blurred” and the other “Zigzag.”
For the “Blurred” layer, apply a gentle Gaussian Blur of about 10 pixels. This softens the details, creating an illusion of depth and bringing focus to our window’s raindrops. Temporarily hide the “Blurred” layer to work on our “Zigzag” layer. Using the ZigZag Distort filter set to “Around Center”, with a lighter distortion setting captures that mesmerizing refraction of light through rain-splattered glass.
The Finishing Touches
Now, for the pièce de résistance, activate the “Blurred” layer again and create a mask to artfully brush away parts of it, revealing just the right amount of zigzagging goodness beneath. Set your brush hardness to a forgiving 0% and use a bigger size that you can adjust with the right and left bracket keys as needed.
Sweep your brush across the canvas, uncovering flickers of the fractal-like zigzags wherever you’d like the rain to visually bend the landscape outside. Don’t hesitate to tweak the Opacity of your brush to achieve that perfect touch.
From Picture to Mood-Setter
And voila! You’ve transformed a simple picture into an evocative mood-setter, reminiscent of a rainy day sanctuary indoors. Whether you want to create album art, a book cover, or simply bask in the art’s tranquil allure, this Photoshop technique is a fun yet powerful tool in your creative arsenal.
Remember, the key to a convincing rain effect is all in the subtlety. Play around, experiment with the settings, and infuse your unique sense of style into every drop you manifest on that pane.
As we like to say at Blue Lighting, creativity thrives on curiosity and a little digital elbow grease. Happy Photoshop-ing, and may your nature emulations be as boundless as your imagination!


