Channel Your Inner Hippie: Recreate the Iconic 1960s Psychedelic Poster
The swinging sixties. The decade that brought us miniskirts, The Beatles, and an explosion of colors and creativity. If there’s one element that visually embodies this era, it’s the psychedelic music poster. These works of art were intricate, colorful, and slightly mind-bending, much like the music they advertised. And guess what? You can recreate that trippy vibe right from your couch using Adobe Photoshop. Today, let’s dive into crafting your very own 1960s-style psychedelic poster. Trust me, it’s way more fun than picking out bell-bottoms.
Get Inspired by Groovy Textures and Colors
Taking inspiration from the posters that once announced The Grateful Dead or Jefferson Airplane concerts, we’re diving into creating a poster that screams ‘flower power’. Think vibrant colors, aged paper textures, and those distinct swirling motifs.
To kick things off, make sure you’re ready with Adobe Photoshop and any photo you’d like to incorporate into your design. A texture that resembles an aged poster paper is essential; luckily, we’ve provided a downloadable version. Just check the video description on YouTube or the project files for the link.
Setting the Stage: Your Canvas
Just like any great piece of art, this journey begins by setting the stage.
- Canvas Setup: Start with a new file and ensure your image size corresponds with traditional 60s psychedelic posters. If the size feels overwhelming or if you’re not planning to print, adjust the resolution to suit your project needs.
- Unlock the Background Layer: This allows for greater manipulation of textures—a necessity in achieving that layered, vintage look.
- Layer Creation: To lay a foundation, create a new background layer filled with black. This helps your colors pop more dramatically against the dark base.
Dancing Colors and Psychedelic Gradients
No psychedelic poster would be complete without a mesmerizing gradient.
- Gradient Overlay: Access this via the FX icon, choosing a linear style with an angle of 90°. Play with the colors to get that classic transition; for instance, a dark teal to deep blue can provide a groovy start.
Adding the Wiggle: Borders and Textures
Now, add some edge (literally) to your masterpiece.
- Border Magic: Start with a new layer, fill it with black, and utilize the stroke function. Seize control by converting this layer into a smart object and take it for a wild ride with the Ripple filter. This mimicry of the wavy, optical-illusion effects characteristic of the era is pure gold.
- Peek of Vintage Textures: Integrating the aged texture brings authenticity, setting your creation apart from modern counterparts by mimicking true aged posters.
Making Magic with Subject Cut-Outs
Let’s talk about your poster’s main attraction, the subject.
- Selection Techniques: Depending on the complexity of your subject and photo, tools like the Quick Selection tool will become your best friend. Precision is key. Ensure your subject is prepped and in its own layer, ready to shine against your poster’s background.
- Layering and Resizing: Bring your extracted image onto the poster and resize it as necessary. Play around with placement, possibly allowing elements to overlap for that authentic layered look.
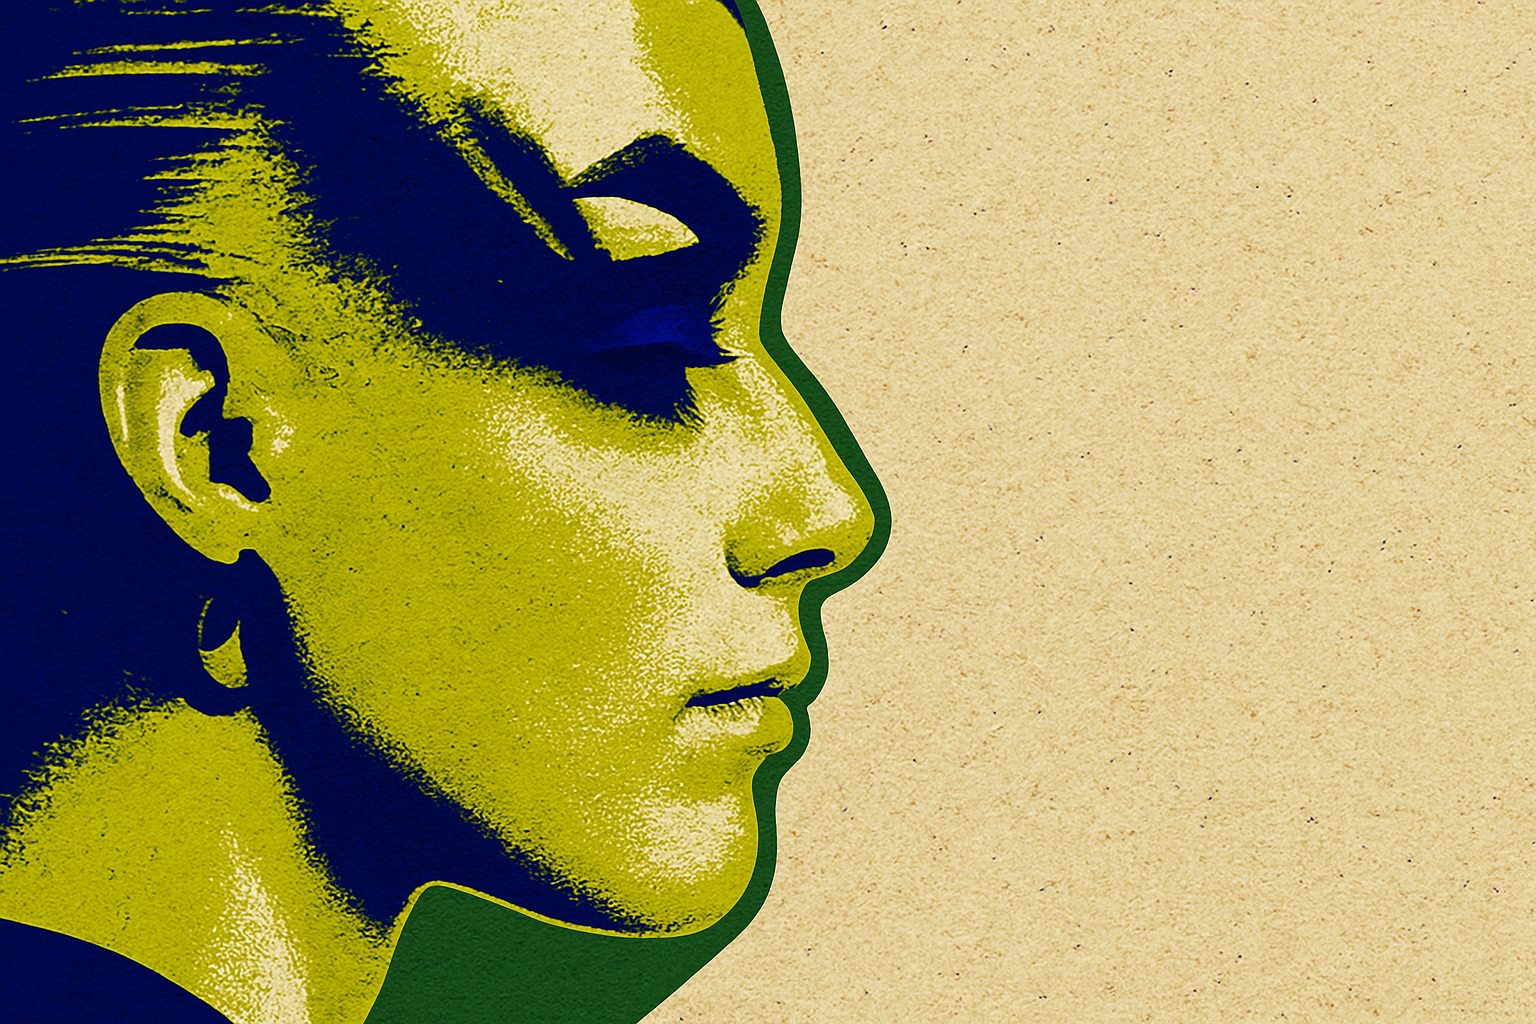
Posterize and Colorize for Impact
To enhance your subject and blend them seamlessly:
- Desaturation and Posterization: Remove the subject’s color and apply the posterize function for a more graphic and less photographic appearance—ideal for the style we’re achieving.
- Outline and Glow Enhancements: Add a stroke to highlight the figure and use an outer glow set to color dodge, offering a stunning luminescent look.
The Art of Gradient Mapping
Finally, conclude your masterpiece with a gradient map adjustment layer, enriching your subject with psychedelic hues. This method not only replaces grayscale areas with your chosen colors but also provides striking visual interest typical of the psychedelic movement.
In part two, we’ll polish our creation by incorporating text and additional textures to make it worthy of a head shop window from yesteryear. So dig out those love beads, crank up some Hendrix, and get creating.
Remember: In this digital realm, your imagination is the only limit, and with Photoshop’s toolbox, you’ve got everything you need to transform your visual dreams into reality.
Stay groovy, creatives!


