Transform Your Images with a Horrific Gothic Look
Ah, the appeal of all things Gothic. That dramatic, eerie aesthetic isn’t just a Halloween fad—it’s a year-round fascination for many of us. Today, we’re diving into the steps to create a striking, Gothic-looking warning sign. Thanks to Photoshop and a few handy techniques, you can craft an image that practically screams, “Keep out!” Let’s revel in the dark and the dramatic.
The Gothic Toolkit: Essentials You’ll Need
When diving into creating a Gothic scene, you need the right materials. First up, we have a Photoshop file that’s your starting block. The file includes a medieval wood background paired with a cracked metal texture—total mood-setters. If you’re here for texture and depth, this is your go-to combo.
- Resolution: 1280 by 720 pixels, at 150 ppi.
- Wood and Metal Textures: Emulate old-world charm with these elements.
Before you jump in, check your foreground and background colors—reset to black and white with a quick tap on ‘D’ if necessary. Ready? Let’s channel our inner Gothic artist.
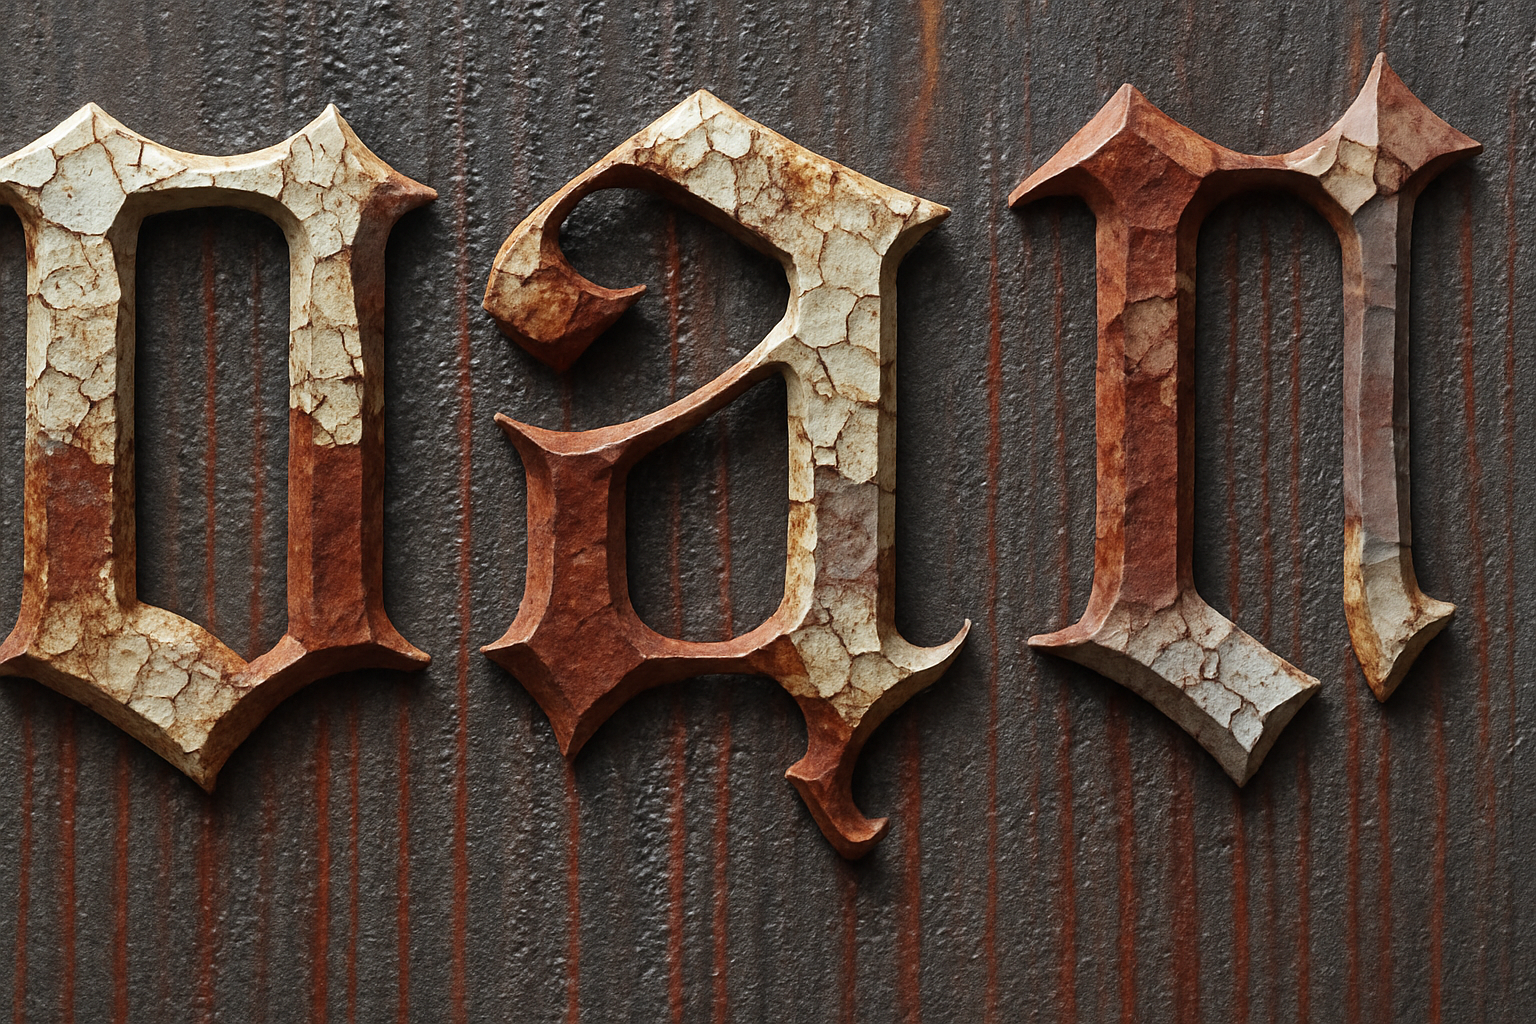
Text That Screams “Do Not Enter”
Typography is everything in design, especially when crafting warnings. For this project, we’re using a dramatic typeface, like “Kaiserzeit Gotisch.” It’s all about striking fear—or, at the very least, demanding attention.
- Font Size and Alignment: Set it at 177 points with left alignment.
- Initial Color: Use black for now; we’re substituting this with the texture soon.
Type away, lay your words midway on the canvas, and cue the dramatic effects.
Layering with Textures
Here’s where things get gritty—and fun. Layering textures gives your words the wear-and-tear look straight from another era.
- Selection: Ctrl/Cmd-click your text thumbnail to select, then activate and reveal your texture layer.
- Layer Mask Magic: Use the Layer Mask button to bind the selection to the texture.
Be ready to use some Bevel & Emboss magic. Your settings are Inner Bevel, Chisel Hard, Depth at 100%, with the direction pointing up. Throw in a Drop Shadow to enhance your text’s ominous vibe.
Adding Bloody Drama
What’s a Gothic warning without a hint of peril? Bloody streaks convey that and more, so let’s get crafting.
- Layering Technique: Ctrl/Cmd-click for a new layer below your active one. Fill it with black (Alt/Opt + Delete if black’s the foreground).
- Fibers Filter: Filters > Render > Fibers. Variance at 10 and Strength at 15. Randomize till you love it!
We’re taking this further with some Level adjustments. With Ctrl/Cmd + L, nudge that white level to 200. Use your Channels panel wisely—make a selection of all tonal values and invert with Ctrl/Cmd + Shift + I for impact.
Bloodstains and Refinements
Continuing our trip to the Gothic side:
- Stains on Text: We’ve got a color code for you—input 8C0404 for the ideal bloody red. Fill your selection, and adjust the blending to Darken, Opacity at 80%.
- Brushwork: Use a soft-edge brush to swab over areas, keeping streaks playing peekaboo beneath the text.
Final Touches with Composite Layers
When it comes to Gothic flair, composite snapshots are your unjustly overlooked best friend:
- Composite Crafting: Craft a composite snapshot with Ctrl/Cmd + Shift + Alt/Opt + E. Duplicate it and batch on some Level enhancements for a moodier finish.
- Layer Refinement: Open Levels and pull down the output to a sweet spot at 85.
Finalize your creation with an Elliptical Marquee selection, focusing on refining its edges for a cloaked-in-mystery ambiance. Feather around 70 pixels and output as a Layer Mask for the win.
Congratulations! You’ve successfully delved into crafting your Gothic masterpiece. So, whether you’re preparing a sinister welcome mat for your digital lair, or just exploring the aesthetic’s depth, these steps will guide you to darkness perfection. Until the next creative quest, keep those Photoshop vibes mysterious!


