Ever Dreamed of Your Own Star on the Hollywood Walk of Fame? Here’s How to Create One Digitally!
Ah, the Hollywood Walk of Fame—the ultimate dream for actors, musicians, and entertainers alike. While it might take years (and a lot of talent) to earn a real one, there’s no reason you can’t create a digital star worthy of your own name—or that of your chosen icon. Today, we’re diving deep into Photoshop to create a personalized Hollywood-style star. Grab your creative hats!
From Zero to Star: The Canvas Setup
Forget the glitz and glam of Hollywood for a moment; this adventure begins with precision and pixels. Open up Photoshop and start a canvas with dimensions of 23 by 13 inches and set the resolution to 72 pixels per inch. Trust us on this one—you’re laying the groundwork for greatness.
Why a Michael Jackson Template?
We’ll be using a picture of Michael Jackson’s star as a template. If you’re wondering why the King of Pop, it’s because his star has the classic elegance and allure we’re going for. Feel free to download the template using the link provided in the video.
Creating the Concrete Texture
Begin by adding a noise filter with the settings: 400%, Gaussian, and monochromatic. For a realistic stone-textured look, blur the noise with a Gaussian blur at one pixel, adjust the levels (Shadows: 196, Highlights: 198), then tweak the output values (dark: 13, light: 180).
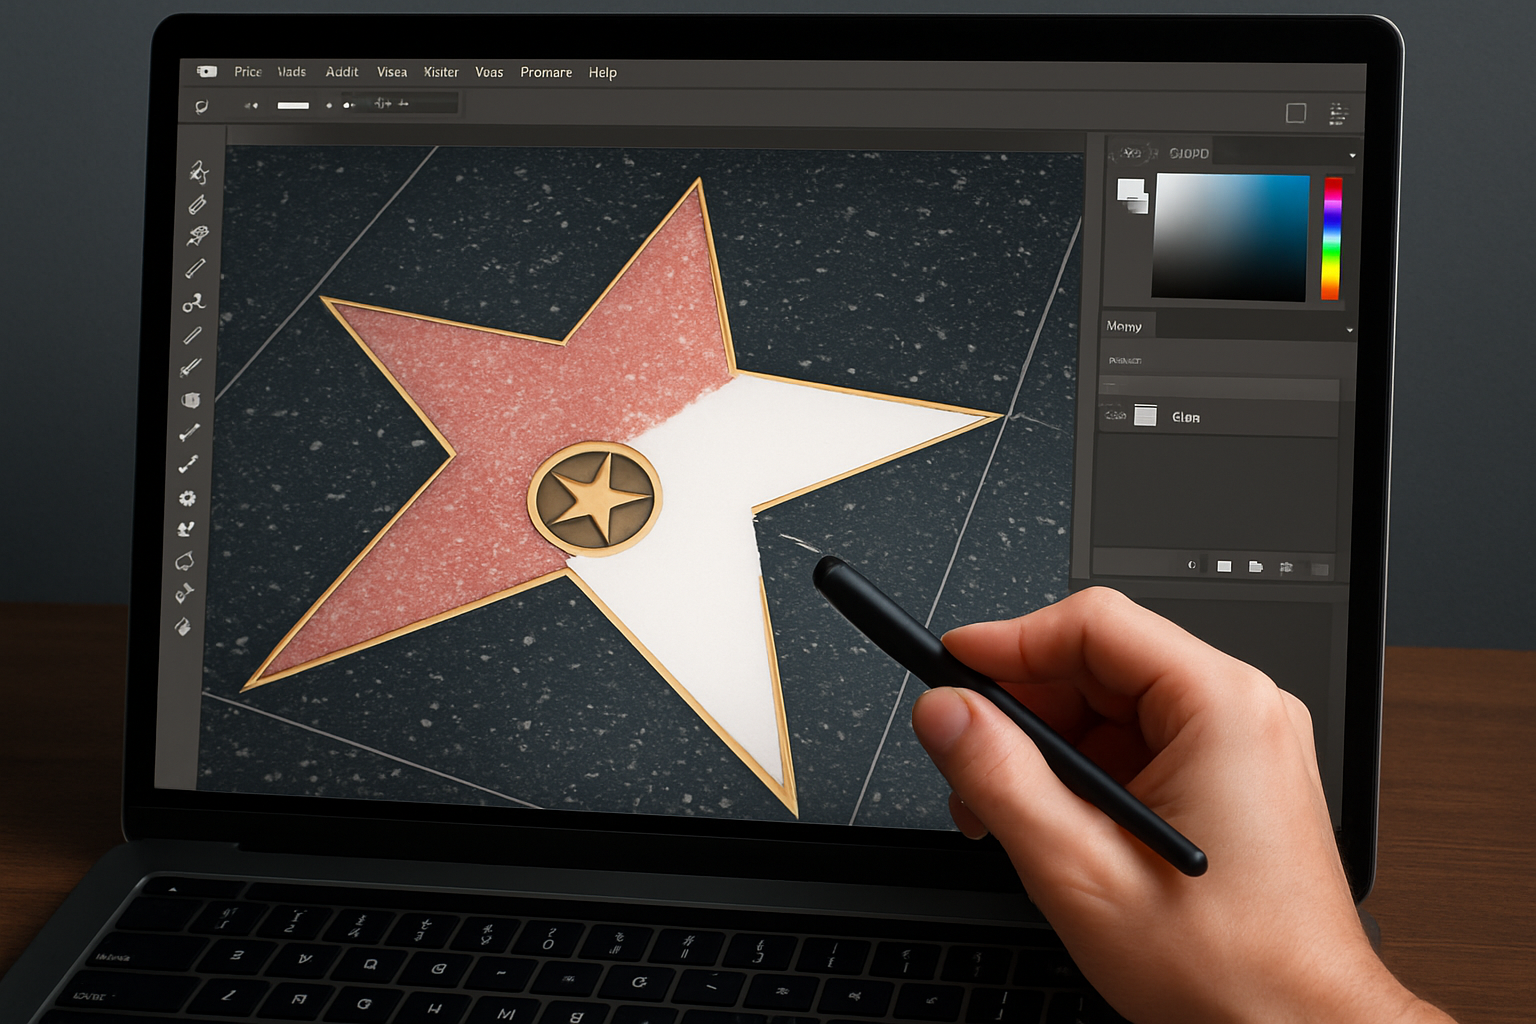
The Making of a Star Shape
The star is the highlight (literally) of our Walk of Fame piece. To build this, hide the Michael Jackson template momentarily and start a new layer. Using the Pen Tool, trace the star shape for that authentic Hollywood sparkle.
By choosing a medium grey for the tile lines and working with inner bevels, we ensure our star has the depth and metallic sheen needed to stand out.
Dazzling the Details
Time to make magic with the Medallion. Create a new layer and zoom into your medallion area. Using the elliptical marquee tool, create a circle for where the medallion will sit, adding an inside stroke of six pixels. Layer styles are your friend here, creating a 3D effect using bevel and emboss techniques.
Personalized Icons & Significant Symbols
The Medallion isn’t just any ol’ circle—it’s the badge of honor for whatever or whomever you’re crafting this star for. Find some free clip art or design your own symbol that represents the industry or characteristic of your subject. This could be anything from a bowling pin for Dick Weber to a music note for a musician.
Pro Tip: Use sites like DaFont to find interesting fonts like Kaiserzeit Gotisch or Ariel Narrow for a gothic or elegant text addition to your project.
The Star Finish: 3D Elevation!
After assembling all individual components, let’s lean back and give it some flair. Use Photoshop’s 3D tools to create a polished end result by rotating, scaling, and panning your artwork into the final illustrious piece.
Give It the Hollywood Glow
Finalize your masterpiece with minute layers, adding drop shadows, inner glows and bevels to centralize focus and give that finishing touch.
To the Stars, and Beyond!
Voila! You now have your very own Hollywood Walk of Fame star. Immortalize your favorite personalities or flatter a friend with a personalized digital economy!
Feel free to rewind and replay the video for any part that requires a closer look. Dive into your toolbox and express your creative side using these insightful Photoshop techniques. Get snappy, walk the fame, and illuminate your inner star.
Go forth, and let the universe of digital artistry shine through your talents!


