Mastering the Art of Shiny Objects in Photoshop
Photoshop is the favorite wand of creatives who bring imaginations to life. Today, we delve into one of its coolest tricks—creating a shiny pill icon. You’ll learn to craft an object that shimmers and dances with light, which could add pizzazz to any graphic design project. Whether it’s for a website, a video game, or an artistic project, mastering this technique allows you to create shiny objects in any shape, size, and color.
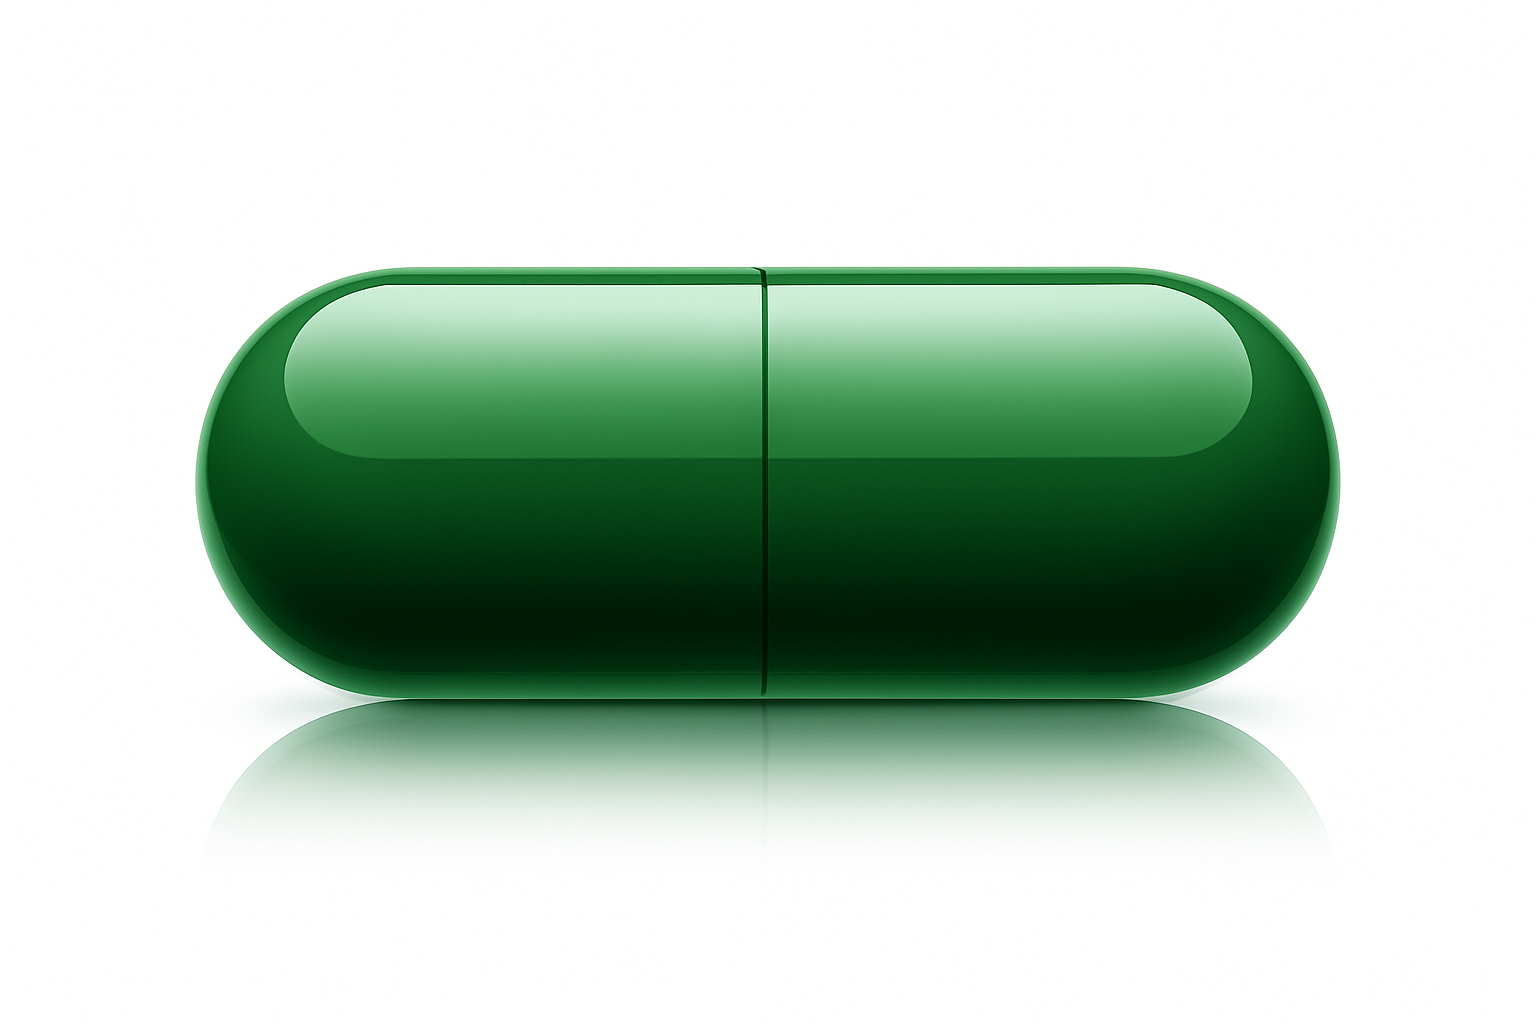
Steps to Create a Shiny Pill
The Blueprint: Crafting the Pill Shape
Kick things off by setting up a document that acts as your virtual canvas. For this tutorial, we’re rockin’ a 1280×720 pixel document with a resolution of 72 pixels per inch. Easy on the eyes and perfect for web display.
To visualize your design, toggle on the rulers and snap feature in Photoshop. This ensures precision as you draw guides, aligning them perfectly in the center of your workspace.
Then, spring into action with the Rounded Rectangle Tool. Opt for a 200 pixels radius—though you might wanna tweak it based on your specific project needs. Draw the shape, and as you let go of the mouse or pen, boom, you’ve got your base—a pill-shaped space ready for some magic.
Adding the Glow: Gradient Overlay and Highlights
Double click on your newly minted pill layer to open the Layer Style Window. Click on the Gradient Overlay option, opening the Gradient Editor. Fiddle with the colors, adjusting the brightness to 50% to light up your life—or at least your pill. Shadows next: hit the Stroke option, keep it at a cozy 8 pixels, and shift the brightness to 50%.
Amp up the glow with Inner Glow, setting the blend mode to Normal, opacity to 40%, and size to 35 pixels. This light play adds depth, making your creation pop!
Text Magic: Personalize Your Pill
Text is the flair; it’s the verbiage that brings context. Using the Type Tool, choose a bold font like Arial Black. Type away the message on your pill, center it with the Transform Tool, and apply a subtle warp with the Warp Text function. Opt for a bulge with a 10% bend, blending the text intimately into your shiny masterpiece.
Reflections and Realism: Dodging, Burning, and Duplicating
What makes Photoshop your tool for wizardry is its layer game. With your pill in place, hop over to the next level by duplicating its sparkle. Make a snapshot to hide the background, isolating your pill for clarity.
Time to focus on reflection. Duplicate the pill layer, flip it vertically, and nestle it beneath your primary pill. Adjust the opacity to 50%, applying a gradient to tone down its impact—because nobody likes it too flashy, right?
Using a Layer Mask, fine-tune the reflection’s subtlety, tweaking the mask opacity to 70%. These little moves clean up the look—polished yet popping with richness.
Customization for Days: Hue and Saturation
Finally, let’s talk about personalization. Like, who doesn’t dig a good color swap? Activate the Adjustment Layer for Hue/Saturation, slap on a Colorize effect, and toggle the hues until your pill reflects just the right shade of cool or vibrant.
This dynamic feature lets you change up not just the pill, but its reflected alias in unison. Artsy, versatile, and totally Instagrammable.
Conclusion: Unleashing Creative Possibilities
From shaping to shining, this Photoshop adventure empowers you to create not just a pill icon but shiny objects in any form, breathing life into your digital designs. It’s a craft that blends technical skills with artistic flair. Mastery of such techniques is no small feat but can be pivotal in elevating your design prowess to new heights.
For a detailed guide, you can enhance your understanding by checking out additional resources here.
So, roll up those sleeves, fire up Photoshop, and let those pixels dance!


