Transform Your Photos with Dreamy Bokeh Effects
Do you ever scroll through Instagram and wonder how photographers achieve those dreamy backgrounds that make the subject pop with such cinematic flair? Well, you’ve landed on the right page. Today, we’re unraveling the mystery of adding soft, romantic bokeh lights to your photo backgrounds using Photoshop. Not only will this elevate the aesthetics of your images, but it’ll also direct all eyes to your foreground subject in a way that demands attention.
What Is Bokeh and Why Does It Mislead Us So Beautifully?
Bokeh (that’s pronounced boh-kay for all the linguists out there) refers to the quality of out-of-focus points of light as seen through a lens. It’s not just some random blur; bokeh is an art form in itself. Originating from the Japanese word boka, meaning haze or blur, bokeh turns chaotic backgrounds into a canvas of soft shapes, elegantly redirecting focus onto your chosen subject.
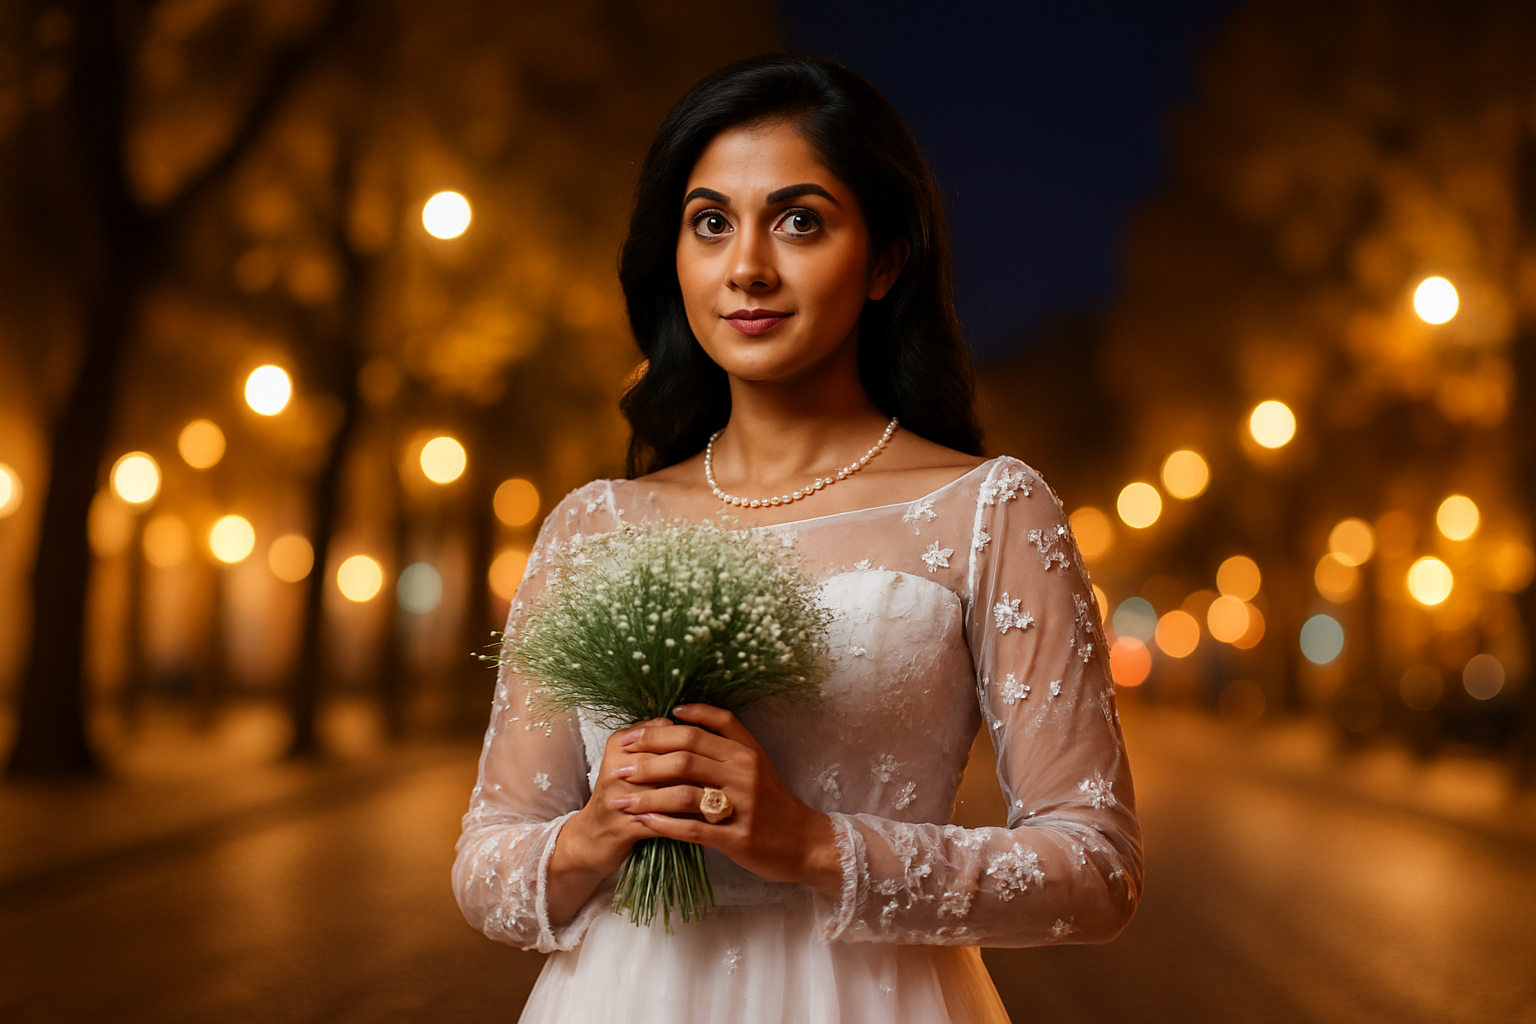
In practice, adding bokeh lights works best with photos that feature darker backgrounds already peppered with points of light—think city nights, candlelit dinners, or a soft sunset glow through the trees.
Setting the Scene in Photoshop
Before diving into bokeh effects and working on turning that image into a stunning spectacle, it’s crucial to set up your Photoshop scene correctly. Here’s how:
1. Duplicate That Layer: Using your image, create two copies by pressing Control + J on Windows or Command + J on Mac—those copies will be your playground.
2. Select Your Subject: Grab the Quick Selection Tool and use the ‘Select Subject’ option. If your subject-selection game isn’t perfect right away, press ‘Q’ to enter Quick Mask mode for finer control. Missed spots? Refine your selection with additional strokes.
Crafting the Perfect Bokeh Effect
Once you have your subject primed, it’s time to embrace the blur:
- Layer Masking: Make your top layer active, then click on the ‘Add Layer Mask’ icon. This creates a mask for focused work on your subject.
- Contain the Chaos: Temporarily hide this refined layer. Engaging with the middle layer, you’ll Ctrl/Cmd-click the layer mask to make that smart, accurate selection.
- Enter the Blur Gallery: Convert your middle layer into a Smart Object. Head to
Filter > Blur Gallery > Tilt-Shift. Hearts might race, but calm down for a second, there’s magic to be made here!
Tilt That Shift for Impact
Tilt-Shift isn’t just for aspiring Instagram stars looking for miniaturized scenes. In our case, it beautifully blends bokeh effects into your photo:
- Lines That Lead: The area between solid lines? Sharp as a tack. Between solid and dashed lines? That’s where blur gracefully struts in.
- Adjust and Wonder: Play around. Drag the blur slider until satisfied with the dreaminess level. Feel. Experiment. Adjust controls to find your ideal balance.
Perfecting with Effects
Ready to mix up your bokeh? In the Effects panel, you’ll find settings that put the ‘extra’ in extraordinary:
- Light Bokeh Slider: Tune your background glow until it whispers sweet nothings behind your subject.
- Color Contributions: Amp up the drama with the Bokeh Color slider, while the Light Range slider refines your lighting spectrum.
And there you have it—a recipe for photographs that turn heads and woo hearts. An alchemy of Japanese terminologies and Photoshop magic, this bokeh tutorial turns even the most straightforward photo into a cascade of visual poetry. Feel free to download the sample photo provided in the video description to get started or test out your own photographic archives. Remember, the best results come from dark backgrounds with flickers of light.
Get creative. The artistic world is your oyster, and trust me, there’s no filter quite like a handcrafted bokeh effect.


