Mastering Color Matching in Photoshop: A Cheat Sheet for Creatives
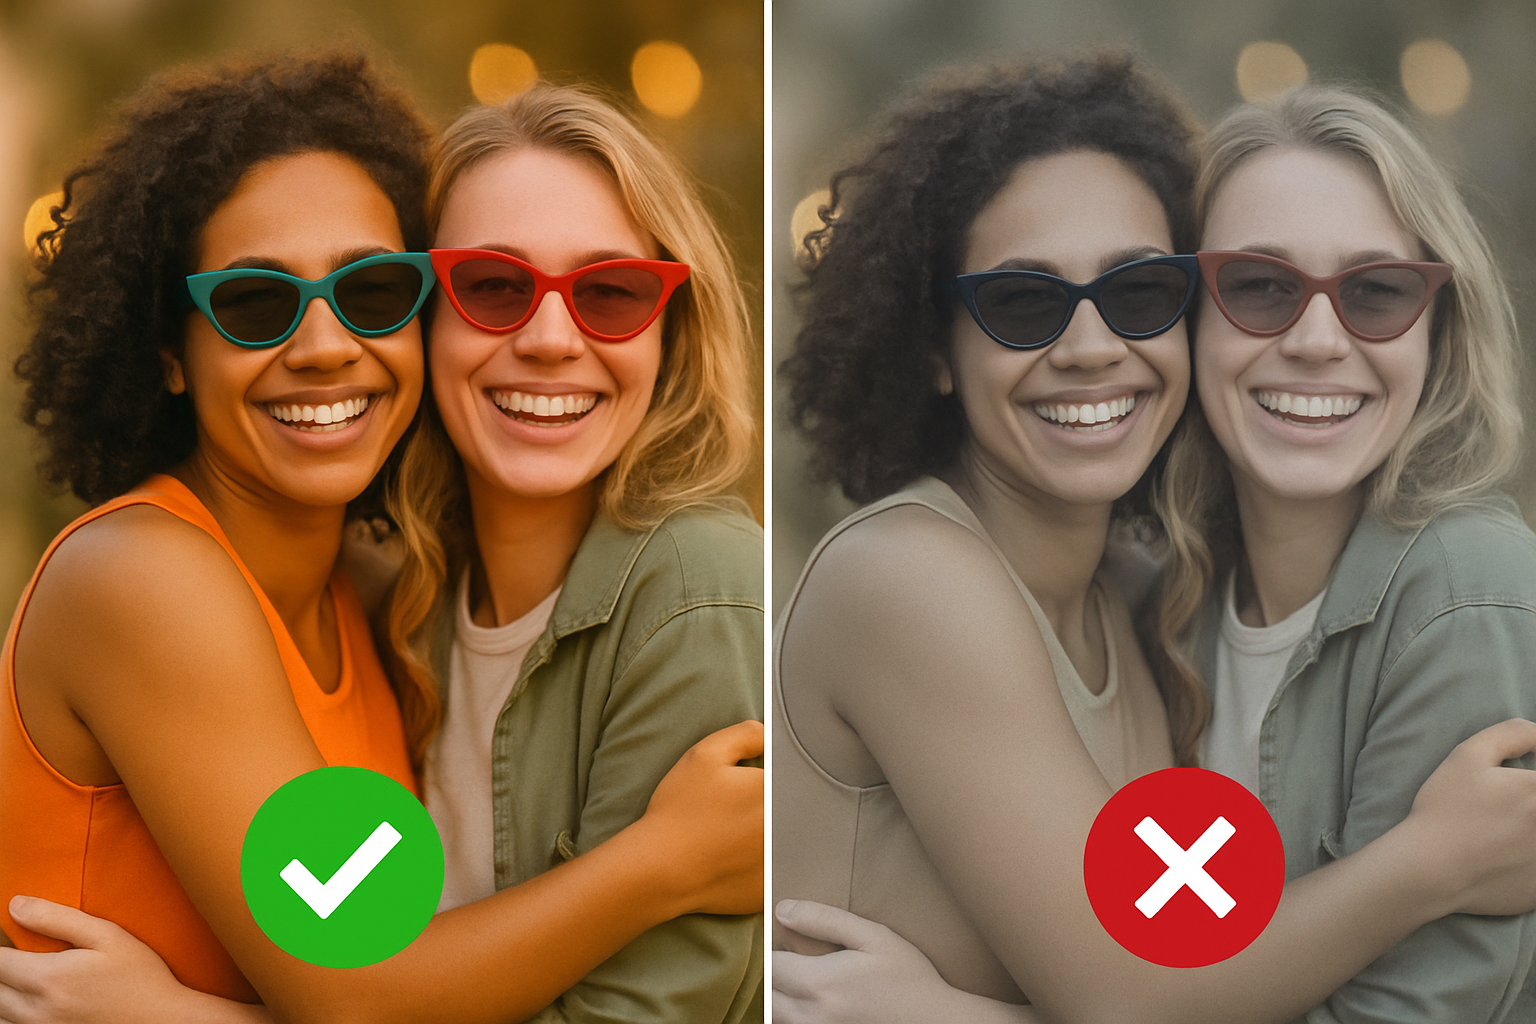
In the realm of photo editing, achieving a seamless blend between different images is a skill that can elevate your work to new heights. Whether you’re merging two photos for a creative project, a marketing campaign, or simply to perfect a composition, it’s crucial to match the exposure, white balance, contrast, and color harmoniously. Today, we’re diving into a nifty Photoshop trick that does just that, and trust us, it’s as satisfying as finding the perfect meme for your mood.
The Challenge of Blending Images
Photoshop is a powerful tool, but anyone who’s spent time editing knows that when you slap one photo onto another, a lot can go wrong. You might end up with a foreground that looks oddly dark against a bright background, or maybe you experience a clash of colors reminiscent of a ’90s rave. This is where precise, professional-grade color matching comes into play.
Color harmonization is not just about making two images look like they belong together; it’s about tricking the viewer’s eye into believing that both were captured under identical conditions. That’s the magic we aim to harness in this guide.
Step 1: Prepping the Layers
First things first, you need to cut your foreground subject from its original background. Use tools like the lasso or quick selection tool for high-quality cut-outs. Once extracted, proudly place your subject onto its new backdrop.
Now, take a deep breath and click the adjustment layer icon. From the drop-down menu, select ‘Curves’. This will create an adjustment layer complete with a mask, ready for you to wield some Photoshop wizardry.
Step 2: Navigating the Curves Panel
The curves panel is where the magic really begins. It essentially maps out your image’s tonal range with a straight diagonal line on a graph, stretching from deep blacks to brilliant whites.
At this point, you’ll see three daring eyedropper options beckoning for attention. They represent the black, gray, and white points of your image—our three musketeers of tonal balance. Adjusting these will help you synchronize the colors of your foreground subject with its background.
Step 3: Setting the Color Points
Begin with the black point eyedropper. Double-click it to summon the color picker and select the darkest shade on your background. Hit OK and confirm the selection when the message prompts you. Rinse and repeat for the gray and white points—each time selecting a medium and light tone on your background respectively. This calibrates the eyedroppers to your background’s color profile, setting the stage for perfect color harmony.
Step 4: Applying the Adjustments to Your Foreground
With the eyedroppers calibrated, it’s time to match your foreground subject to these points. Select the black point eyedropper again, but this time, click on the darkest part of your foreground subject. Repeat this process with the gray and white point eyedroppers on the corresponding tones of your subject.
You’ll notice that the curves shift, the channels of red, green, and blue dancing into alignment. As they calibrate, the color, contrast, and tonality of your foreground subject subtly shift to blend with its new home.
Step 5: Restricting the Color Correction
To limit your adjustments solely to your foreground subject, harness the power of a clipping mask. Simply click the clipping mask icon or head to the layer menu to create one. And Voila! Just like that, your foreground subject is fully color-corrected to match the background.
Wrapping It Up
This quick yet powerful technique is a staple for creatives looking to craft beautifully integrated compositions. Photoshop’s curves adjustment is a quintessential tool in the photo edit arsenal, often underestimated but incredibly potent when mastered.
Whether it’s for professional projects or social media masterpieces, having the ability to blend images effortlessly is a skill that keeps your work looking sharp and cohesive. So, why not give it a try? As always, the magic of creativity lies in the details.
What intricate techniques have you found most useful in Photoshop? Share your thoughts and be part of a community that thrives on creativity and a little dash of curiosity.
Happy editing!


