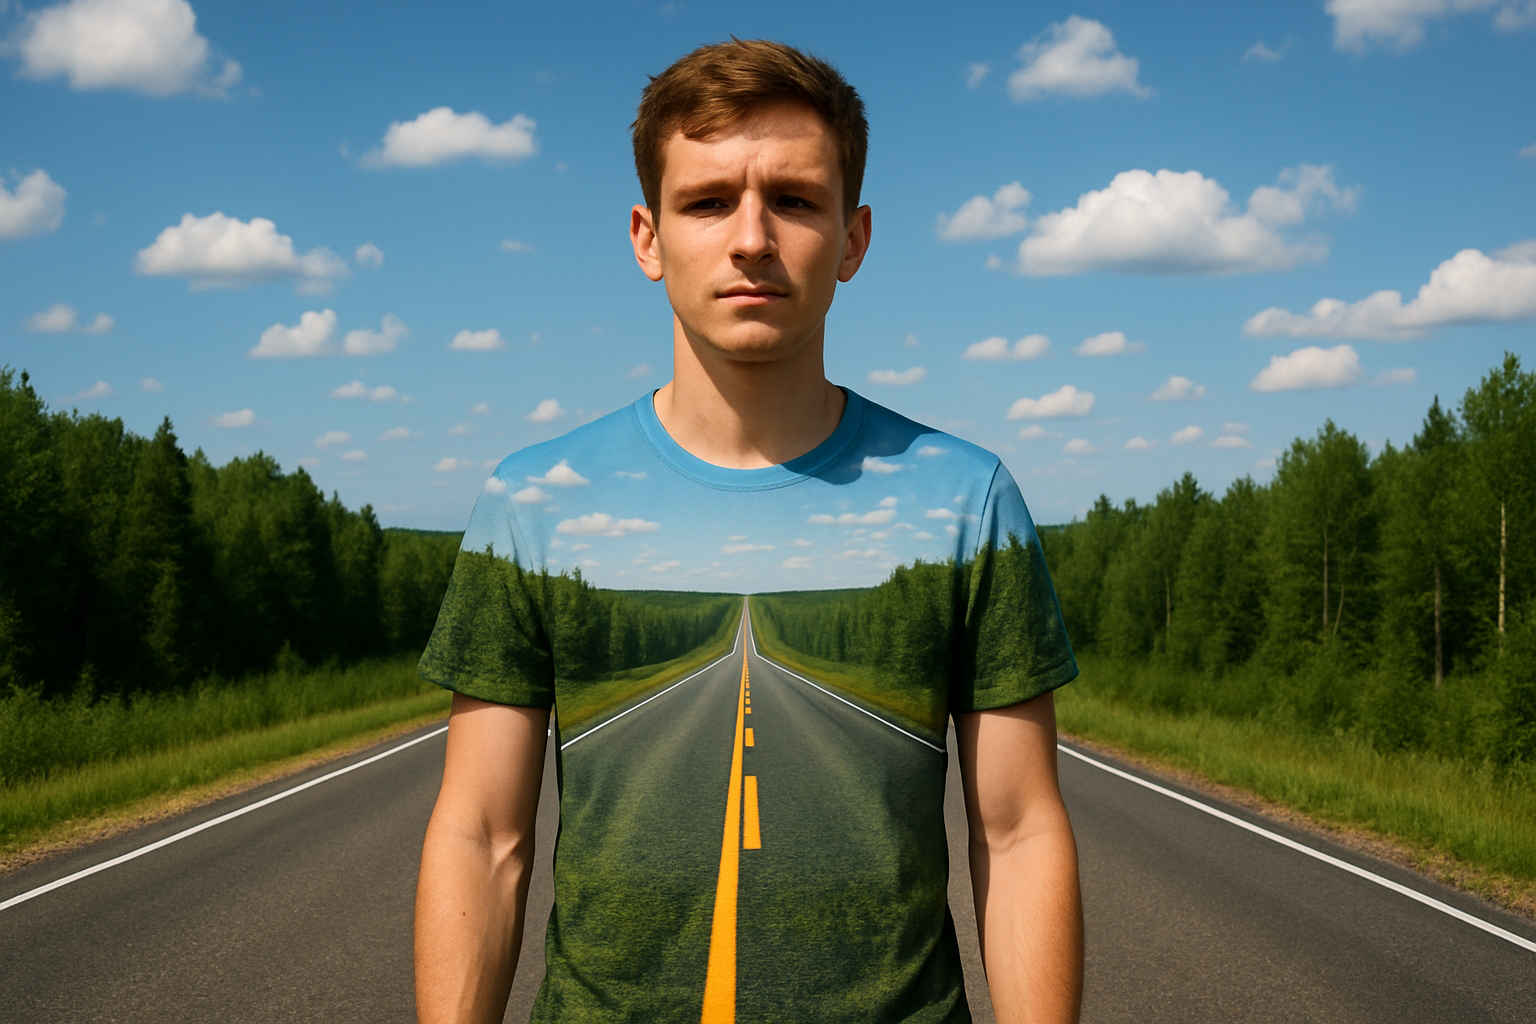
Unlock the Magic of Invisible Fashion with Photoshop
In the ever-evolving world of digital art and photography, the boundaries of creativity are constantly being pushed. One such intriguing effect you might have come across is the illusion of invisible clothing. Imagine a world where clothing appears to blend seamlessly into the background, revealing the contours and textures beneath—like magic, but better because it’s Photoshop magic. Here is how you can achieve this fascinating effect yourself.
Preparing Your Canvas: Choosing the Right Images
Before diving headfirst into the world of Photoshop mystique, remember that the quality of your initial images is key. For this effect, images of clothing that are white or light in color work best, especially if they have folds or creases. These elements help amplify the distortion effect, making the illusion more convincing. Fear not if your subject is wearing bright clothing; with a few tweaks, you can convert it to white or light gray to suit your needs.
A Tale of Two Layers
Creating this effect involves separating your subject (i.e., the clothing and the body it hugs) and placing them each onto their own layer. The mighty Quick Selection Tool is your weapon of choice here. Set it to a suitable radius—around 10 pixels works for most. Ensure you’re set to “add to” mode; you’ll want to catch all parts of the clothing as you glide over your subject.
Once selected, use the “Ctrl or Cmd + J” shortcut to cut and copy the clothing to its own layer. Now, make the subject active and repeat the process to isolate the body parts. This separation is crucial for the invisibility effect to work its magic.
Mastering Color Alterations
If your subject sports colored clothing and you wish to venture into lighter hues, the journey continues in the Channels panel. Here, observe how different channels (red, green, blue) affect the image color. Choose the channel that lightens the clothing the most and copy it (Ctrl or Cmd + C). Paste this as a new layer above your subject. Voila! You now have a monochromatic garment ready for manipulation.
Creating and Utilizing Displacement Maps
Welcome to the core of the illusion—the displacement map. Copy the isolated clothing layer (Ctrl or Cmd + J), create a new layer beneath it, and fill this with white (access the Fill window via Shift + F5 or Edit>Fill). Merge the layers (Ctrl or Cmd + E) and desaturate to prepare for warping.
A touch of Gaussian blur (around 3 pixels) softens the map, smoothing any transitions. Amp up midtones using the Levels window (Ctrl or Cmd + L) for better definition—adjust brightness to your liking. Save this creation as Displacement.psd on your desktop for easy access later.
The Magic of Distortion
Almost time for the big reveal. Convert your background into a Smart Object for flexible alterations. Head to Filter>Distort>Displace, input 30 for both scales, and tick Stretch to Fit and Repeat Edge Pixels. Select your freshly saved displacement map and click Open. Witness as the background contours itself around the digital garment like a loyal servant to its master—truly mesmerizing!
Final Touches: Blending and Cropping
We’re almost there. Adjust the blending mode of the clothing layer to Multiply. This makes the clothing blend smoothly with the distorted background. Tidy up any edge distortions by cropping them out using the Rectangular Marquee Tool. Select the clean frame > Image > Crop > Deselect (Ctrl or Cmd + D).
There you go. You’ve conjured an artistic marvel from a simple image, transforming fabric into mere illusion. If that’s not digital wizardry, what is?
Joining the Creative Community
If the thrill of constant learning (and creating mind-bending effects) enthralls you, consider further exploring the realm of digital artistry and become a part of a vibrant creative community. Be it for learning more techniques or sharing your acquired wisdom, platforms like Patreon offer a multitude of opportunities to connect with fellow creatives.
Get inspired, stay curious, and keep weaving your artistic spells with these Photoshop techniques!