A Fiery Text Effect That Will Set Your Designs Ablaze
In the vast world of digital design, enhancing your artwork with striking visual effects can be both satisfying and engaging. Enter the dark, fiery text effect—a masterpiece of sizzling typography that will elevate your work to burning new heights. The digital flames we’re crafting today aren’t just pixel smoke and mirrors; they pack a punch with genuine fiery dominance. Using Adobe Photoshop, we’ll guide you through creating text that’s truly ablaze, all from the comfort of your screen.
Requirements: Heating Up the Photoshop Kitchen
Before diving headfirst into the lava, here’s a quick overview of what your version of Photoshop should include. While most of this tutorial can be followed using Photoshop version CS2 or later, creating those convincing flames requires the flame filter introduced in Photoshop CC 2014.2 and beyond. If you’re a little behind on software updates, no worries—you can still achieve fiery effects using photos of real flames.
Step-by-Step: From Ashes to Embers
Here’s the game plan: Our fiery effect will involve layers, blending, and some cool Photoshop trickery to transform plain text into a virtual inferno.
– Texture Base: Our canvas needs a gritty texture to complement the flames. Either download our provided texture linked in the video description, or use your own. Just ensure it’s about 800 pixels in height with a resolution of 150 pixels per inch.
– Layer Management: Create layers and folders wisely. This tutorial makes use of several layers, including an adjustment one right off the bat, to ensure that the shadowy depth you are creating pops against the fiery overlay.
Let’s Get Burning: Layer Styles Galore!
Once you’ve grounded your base, it’s time to heat things up:
– Colors and Brushes: Select a bold, fiery hue (hex code #FDA212 will get you there) and apply it strategically with an 1100 pixel-sized brush. Play with blending modes like Color and Overlay to achieve that scorched look.
– Typography Matters: Choose a font with weight; we’re working with ‘Geomancy Extra Bold’ for its robust form. Remember, size is crucial—a larger text elevates this effect and maximizes impact.
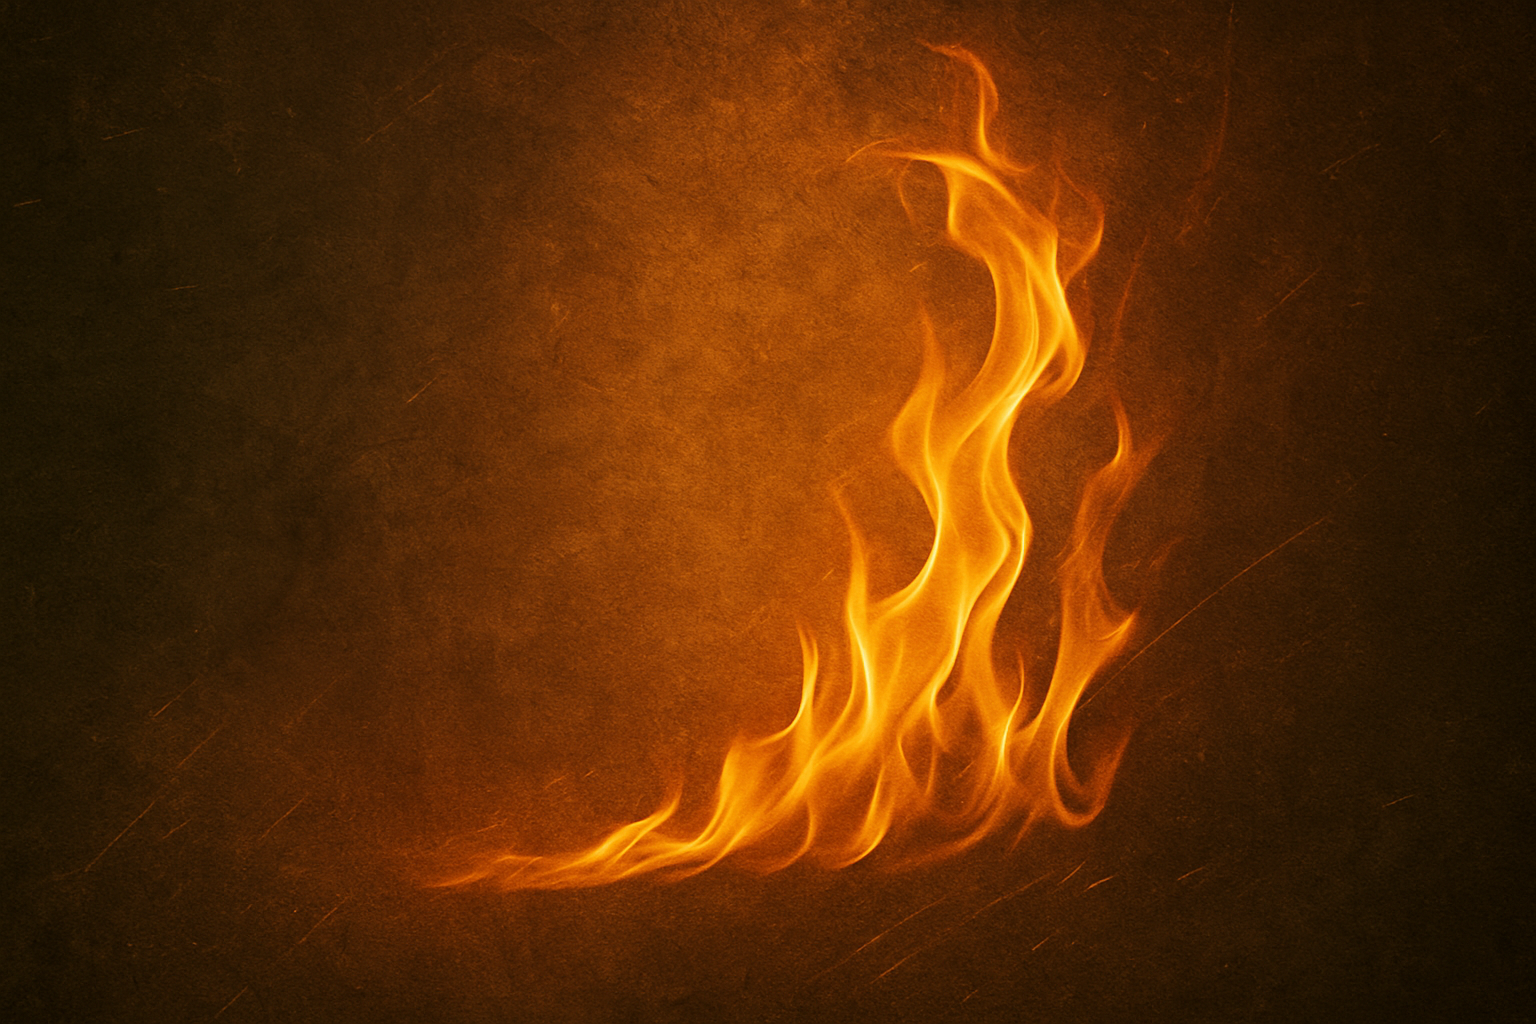
Flame Effects: The Real Star of the Show
Your design is nothing without flame. Activate the Pen Tool—forging paths will allow direct control over the direction and form of each tongue of fire:
– Path to Flames: Draw paths that hug your text using the Pen Tool. Then, dive into the Flame filter via Filter > Render > Flame. Opt for “one flame along path” to achieve a glowing edge that accentuates the drama.
– Quality matters: Set flame quality to “Fine” to ensure clarity; however, prepare for a longer render time for higher quality settings.
Finishing Touches: Make it Blaze
Finalizing with adjustments is key to bringing out the best in your fiery text:
– Lighten Up: Use Levels adjustments liberally to ensure your creation shines. Tweak overall brightness so the text burns bright amidst darker backgrounds.
– Flame Control: Utilize the Move Tool to finetune flame positions, and Warp to adjust flame shapes, creating a dynamic, natural spread.
Your blazing text is ready to fire up the digital world. This isn’t just about fiery aesthetics—this is an exercise in control, patience, and understanding layers, blending, and adjustments. Enter a new realm of textual design and let your creativity burn (without actually catching fire). Keep practicing these skills, and who knows—you might just ignite the next viral design.
Keep designing cool stuff and never let the creative fires die down!


