Create Your Own Dazzling Broadway Marquee
Ever dreamt of seeing your name in lights, big and bold on a Broadway marquee? Sure, creating an actual Broadway production might be a tad complicated—but with Photoshop and a touch of creativity, your name can shine just as brightly in the digital world. Today, we’re diving into another glittering Photoshop adventure that blends the powerful tools of the software with a playful touch of artistry: turning your name into a dazzling marquee sign. Grab your creativity, and let’s dive in!
Prepping Your Magical Canvas
Before we jump in, we’ve provided an image for download that’ll serve as our canvas. The link can be found in the description of our YouTube video or the project files. Additionally, we’re using a font called “Clubland” for that authentic marquee vibe. If fonts trip you up, there’s a handy tutorial to help you install them seamlessly into your system.
Set your Photoshop stage by creating a new document with dimensions of 1000 by 390 pixels and a resolution of 150 pixels per inch. Make sure you’re in RGB mode with 8 bits per channel—because why settle for anything less than vividness?
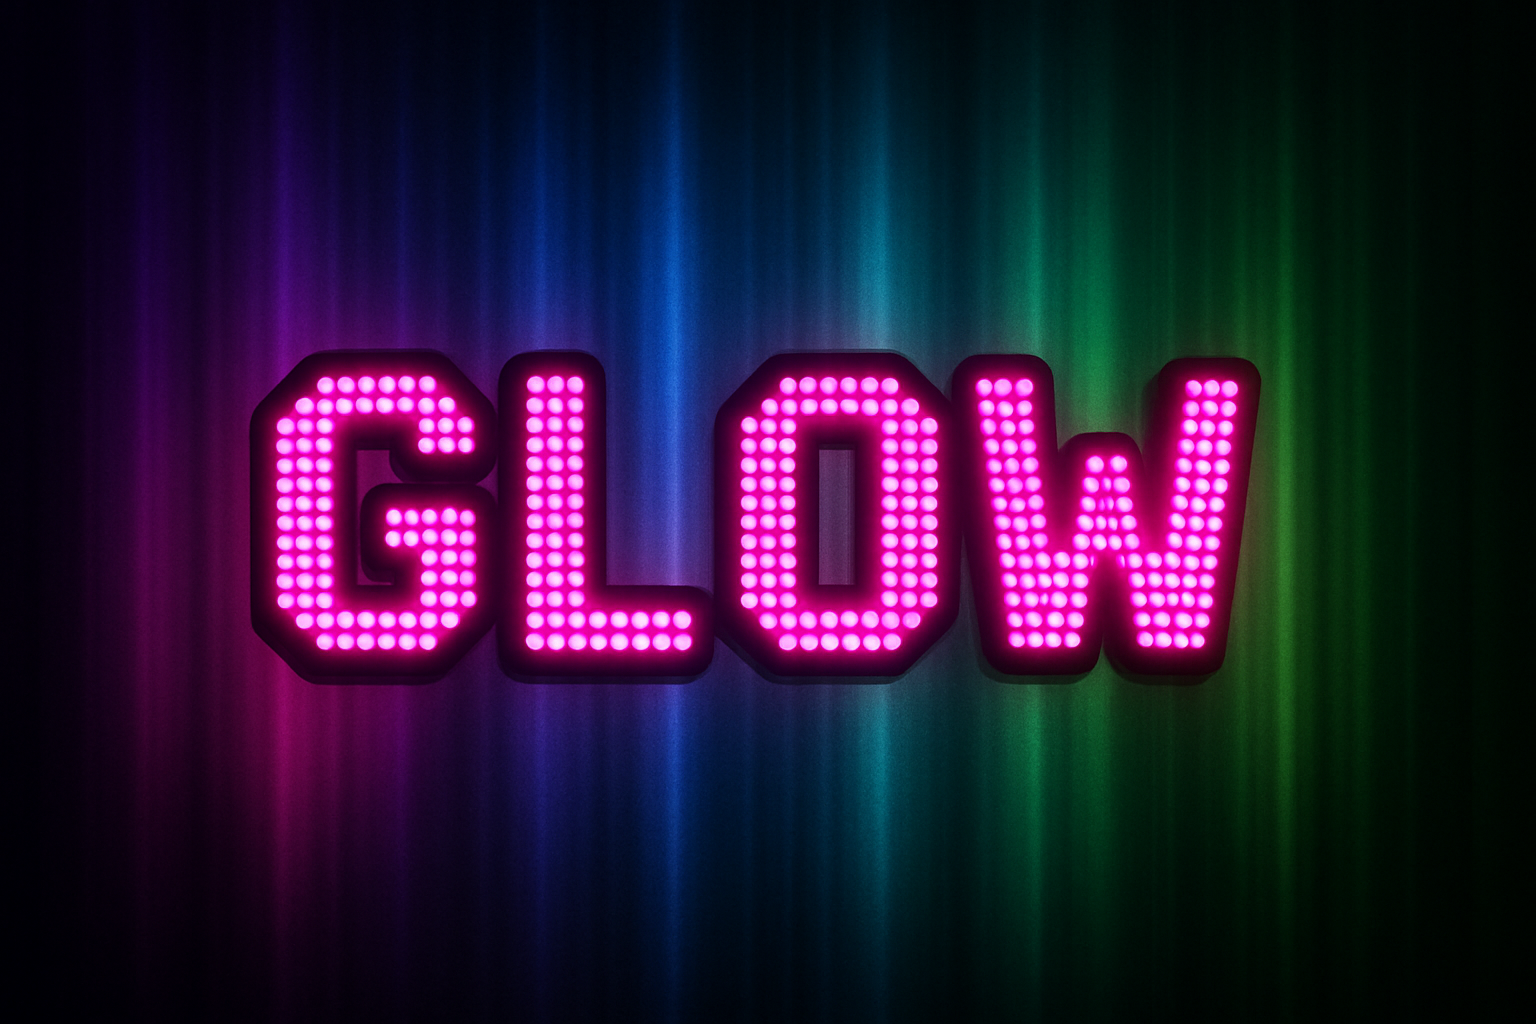
The Playful Dance of Text and Light
Grab the Horizontal Type Tool and open up that fresh “Clubland” font. Aim for a size that comfortably accommodates your name with room to shine, say around 100 points. Go for a smooth finish with a left alignment. You can pick any color you fancy; we started with #FF00DE, but hey, change is in our creative toolkit. Type out your name and learn the art of perfect symmetry with the Align Horizontal and Vertical Centers options. Your name is now sitting pretty, front and center, like it belongs there.
Make your text dynamic by duplicating the layer and dipping it in white. This gives us the foundation for adding some glitz! Venturing into “Filters,” the text gets its first styling with the Wind effect, starting from the right. Rinse and repeat with Ctrl + F for three rounds before switching winds to come from the left.
Adding a Touch of Wind and Color
Wind, like artistic flair, comes in all directions. With our marquee rotated clockwise, let’s harness the Wind again. This time, we embrace both sides to craft the illusion of radiant light bursting from your name. Merge the layers—because unity is strength—and prepare for a splash of color.
Utilize the Gradient Tool and, with a touch of the “spectrum” preset, drag a colorful breeze across your text. Overlay blend mode intensifies the glow, while inner and outer glows lend an aura to your letters. It’s like bath time for typography—only fancier.
Bringing It All Together
A marquree wouldn’t be complete without some finishing touches. Duplicate your text once more and check off an inner glow—outer glow picks up the slack. Pick the same text color to unify the look with a refined touch of 75% opacity.
Want to switch up the ambiance? Tweak the sign’s colors with a Hue/Saturation adjustment layer. A mild color rotation might just set the perfect vibe for the marquee’s setting. Here’s where you get to decide what shade of fabulousness your name will sport. Confident with the choice? You’re ready to move the ensemble to the Broadway photo.
The Grand Finale: Positioning and Finesse
Finally, it’s time to insert your creation into its new home. Drag and position it on the Broadway marquee photo, adjusting perspective with good ol’ Transform. Once it’s snugly fit, polish the sign’s finish—adjust levels, add grain and just the right amount of blur.
As the curtain falls, take a sneak peek through the Zoom Tool to ensure every pixel is picture-perfect. And there you have it—a marquee that Frank Sinatra would’ve been proud to see his name on.
The power of Photoshop and a dash of creativity—your name in lights, sans the Broadway budget. It’s your show; make it epic! 🧡✨


