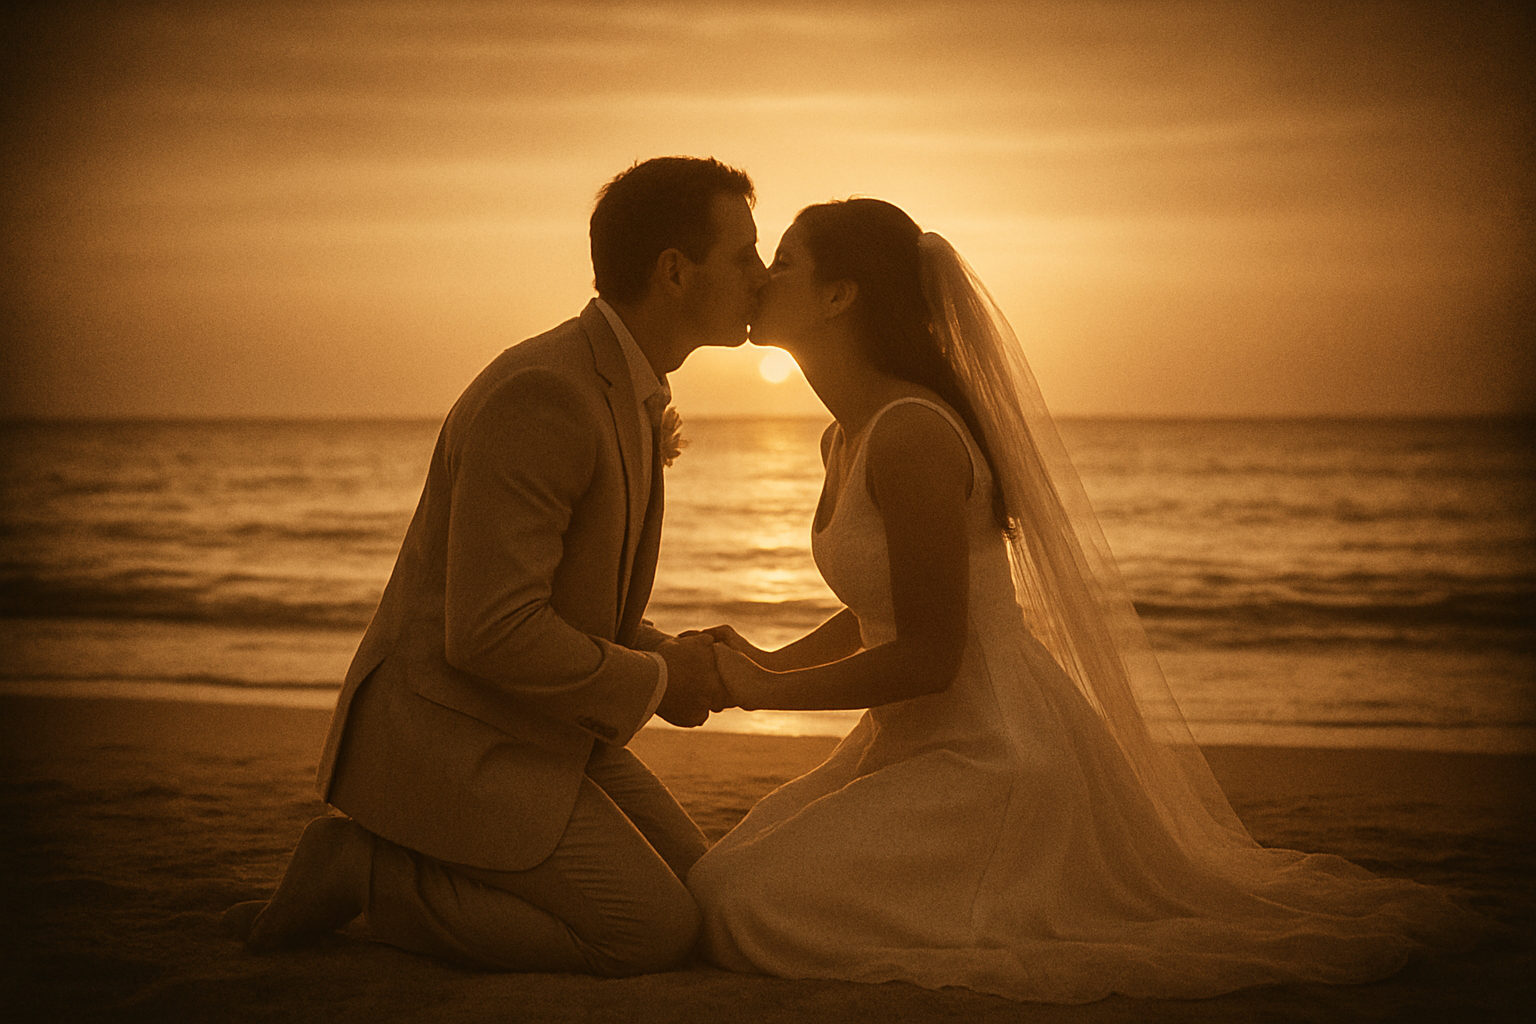
Transform Ordinary Photos into Exquisite Golden Memories
Ever looked at an old wedding photo and thought, “Wow, that’s a timeless piece of art?” Well, you don’t need a time machine or a vintage camera to create such imagery. With a few savvy Photoshop techniques, you can make any ordinary snapshot into a stunning, golden-hued photograph that looks like it’s straight out of a period drama. Whether you’re sprucing up a wedding album or adding a touch of elegance to your digital gallery, here’s how you can achieve this ethereal effect.
Initialization and Duplication: The Power of Layers
To embark on this Photoshop journey, you’ll want to begin with an image that is 1500×1000 pixels at a resolution of 150 pixels per inch. After opening your image, the first step is to duplicate the background layer twice by pressing Ctrl or Command + J on your keyboard. Naming these duplicates is critical for seamless navigating; dub them “Focus,” “Radial Blur,” and “Gaussian Blur.”
Illuminate with the Elliptical Marquee Tool
We often have a focal area in a photo—perhaps a couple’s intertwined hands or the joyful expressions of guests—and highlighting that section can visually captivate. Using the Elliptical Marquee Tool, drag out a small to medium-sized circle over this area while holding Shift and Alt (or Option on a Mac). Afterward, go to Select > Modify > Feather and set this to 50 pixels to softly blend the selection.
Add Blur Effects for Depth and Drama
Now, for creating that luscious, dreamy blur. First, with the Gaussian Blur layer selected, navigate to Filter > Blur > Gaussian Blur, and apply an 8-pixel blur. This serves as the soft backdrop against which your focus layer will pop.
Activate the Radial Blur layer and make it visible to play with radial effects. Head over to Filter > Blur > Radial Blur. Set the Blur Amount to 35, choose Zoom as your Blur Method, and set the Quality to Best. The trick here is moving the crosshairs to match the same spot where your elliptical selection sits—this keeps the composition uniform.
Play with Blend Modes
Nothing says moody elegance like Soft Light blend mode. Defining both the radial and Gaussian Blur layers to this mode melds everything perfectly. Alternatively, want to imbue your image with a tinge of intrigue? Slide the Gaussian Blur layer’s opacity to 70%.
Curves and Color: Infuse with Warmth
Activate the Focus layer and navigate to the adjustment layers, selecting Curves. Here, we’ll create a smooth S-curve. Drag the lower left point down slightly, and raise the upper right corner. This will emphasize shadows and highlights, adding depth. Think of it as a sprinkle of magic fairy dust.
Up next, return to the adjustment layers and select Solid Color. Enter the hex code BD8031—a golden brown hue just ripe for imparting that nostalgic vibe. Switch the blend mode to Color, and temper the opacity to 90%. This allows those rich underlays of the actual photo to seep through gently.
A Soft Vignette for the Final Touch
Last but definitely not least, it’s vignette time! With your layers in full view, create a composite snapshot by pressing Ctrl + Shift + Alt + E (or Command + Shift + Option + E for Mac). Journey to Filter > Lens Correction, and under the Custom Tab tweak the vignette by setting the Amount to -80 and Midpoint to -40. This frames your photo, drawing attention seamlessly to the heart of the composition.
With these steps, you’re not just editing a photo—you’re crafting an artwork. A piece of timeless beauty that would make Renaissance painters raise a glass. So go ahead, apply these techniques to those cherished moments captured on a whim, and transform them into classic images that evoke memories of an alternate era.
Now set free that inner artist and let the digital canvases sing!
Happy Photoshopping and may your creativity always shine as brilliantly as your new gold-hued masterpiece!


