Dive into the Art of Woodcut with Digital Tools
Ever wondered what your favorite photograph would look like as a traditional wood carving? Welcome to the world of digital woodcut art! This tutorial takes you on a step-by-step journey to transform any portrait into an intriguing and professional-looking woodcut visual using the magic of Photoshop.
Start with the Right Setup
First things first, let's set up your canvas. You'll want a document sized at 1350 by 1100 pixels with a resolution of 150 pixels per inch. This is the perfect size to give your woodcut a balanced level of detail without overwhelming your computer's resources. The wood texture you'll be using acts as the canvas for your carving. Grab a beautiful texture from Textures.com, a vast resource of high-quality textures that can add an authentic touch to your masterpiece.
Making Your Subject Stand Out
Ensure you've got a clear photo of the person you wish to turn into a woodcut. The next step is to perform an artful selection around the person's head. Photoshop gives you a plethora of selection tools, from the Lasso tool to the Quick Selection tool, which helps isolate the subject from the background. Pick the one you're most comfortable with, and don't worry—Photoshop is all about making the complex look easy.
Putting Pen to Paper—or Pixels to Wood
Once your selection is set, it's time to drag the image into your wood background document. This switch feels like a digital leap from paper to wood. Resize and reposition the image using the Transform tool. Adjust until the proportions feel just right, channeling your inner Michelangelo with every gentle nudge.
Desaturation and Details
Now, let's strip the photo of its colors—don't worry, less is more in this context! Press Ctrl + Shift + U or Command + Shift + U for our Apple fans. This leaves us with a grayscale image that sets the stage for the photocopy effect. Head to Filter and punch into the Filter Gallery. Under Sketch, choose Photocopy for that classic black and white look. Tweaking the detail and darkness settings is where your creative autonomy shines—aim for contrast that resembles the deep cuts of a woodcut.
Precision Edging
Reverse the foreground and background colors to amp up the depth artfully. You'll now call upon the Pencil tool to polish the edges, removing unwanted marks or blemishes and ensuring the stark contrast pops just like a freshly inked block print.
Highlight with Bevels
Here's where your woodcut starts getting that deliciously tactile quality. To emphasize the carved look, add a Bevel and Emboss effect. Adjust inner bevel, technique, and depth settings to mimic the grooves one might carve with a fine chisel. Tailor these settings to your photo's unique attributes—a departure from cookie-cutter crafts into bespoke art.
Perfecting the Text Touch
If you want to personalize your woodcut, layer it with text. Choose a captivating font—such as “KG 10000 Reasons” from DaFont.com—to complement your image's rustic elegance. Switch text orientation and tweak the fill settings to zero before applying a Bevel and Emboss for a seamless blend into the wood grain.
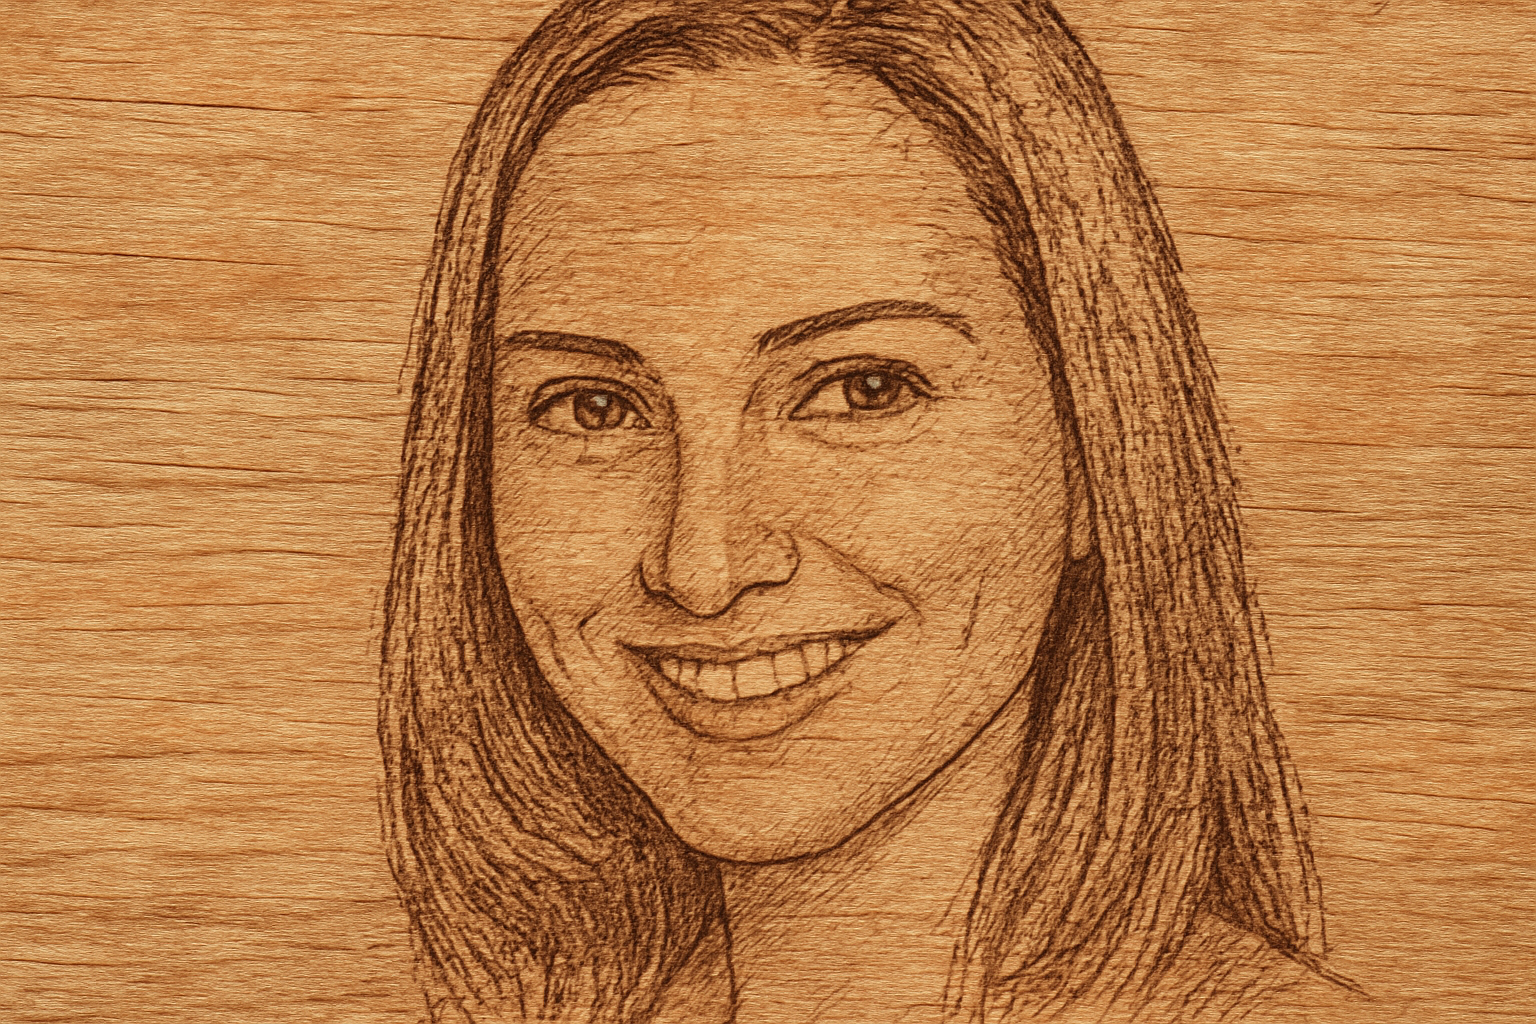
Embrace the Old with the New
With some digital brushstrokes of patience and creativity, you’ve turned a regular photo into a digital homage to the age-old artistry of woodcut carvings. Whether you do it for professional pursuits or as a personalized gift, this process taps into the vibrant intersection of digital innovation and classic artforms.
For creatives who wish to test new waters or those devoted to preserving traditional design through modern tech, the possibilities are boundless. Be sure to share your carved masterpieces with the world and who knows, it might just inspire the next wave of digital artisans.
This concludes the digital woodworking adventure, a timeless craft reimagined for today’s designers. Don’t let the intricate process intimidate you—it’s about enjoying the journey and cherishing the art.


