Add Some Festive Magic with Your Photoshop Skills
There’s something uniquely captivating about a snow globe. A tiny, beautiful scene trapped within a glass dome, often decorated with falling snow. What if you could capture your favorite scene or object this way—but in Photoshop? Today, I’m here to share how you can create your very own custom snow globe featuring an object of your choice. It’s a blend of artistic flair and digital magic that stands as a true testament to your Photoshop prowess.
The Photoshop Process: Crafting the Globe
Let’s get started with creating the perfect globe. We’ll dive into adjusting pixels and exploring the magic of the ‘Lens Flare’ and ‘Polar Coordinates’ filter. Now, before your creative wheels start spinning, keep in mind: this process will transform a simple 1000×1000 canvas into your personal winter wonderland.
Setting the Stage
We begin with a document that’s 1000×1000 pixels, at a resolution of 72 pixels per inch. In the realm of Photoshop, these numbers are your starter kit. We first fill the background layer with black using the shortcut Alt + Delete (or Option + Delete for Mac users). This dark base provides a solid contrast, which is essential when you insert your Lens Flare at 75% brightness.
Playing with Polar Coordinates
Our next steps dance under the ‘Filter’ menu. By navigating to ‘Distort’ and then selecting ‘Polar Coordinates’, you can toggle between Polar to Rectangular, and vice versa. This back-and-forth motion helps shape the globe and creates a seamless, wrap-around effect. It’s this transformation that will envelope your scene.
Give Life to Your Globe
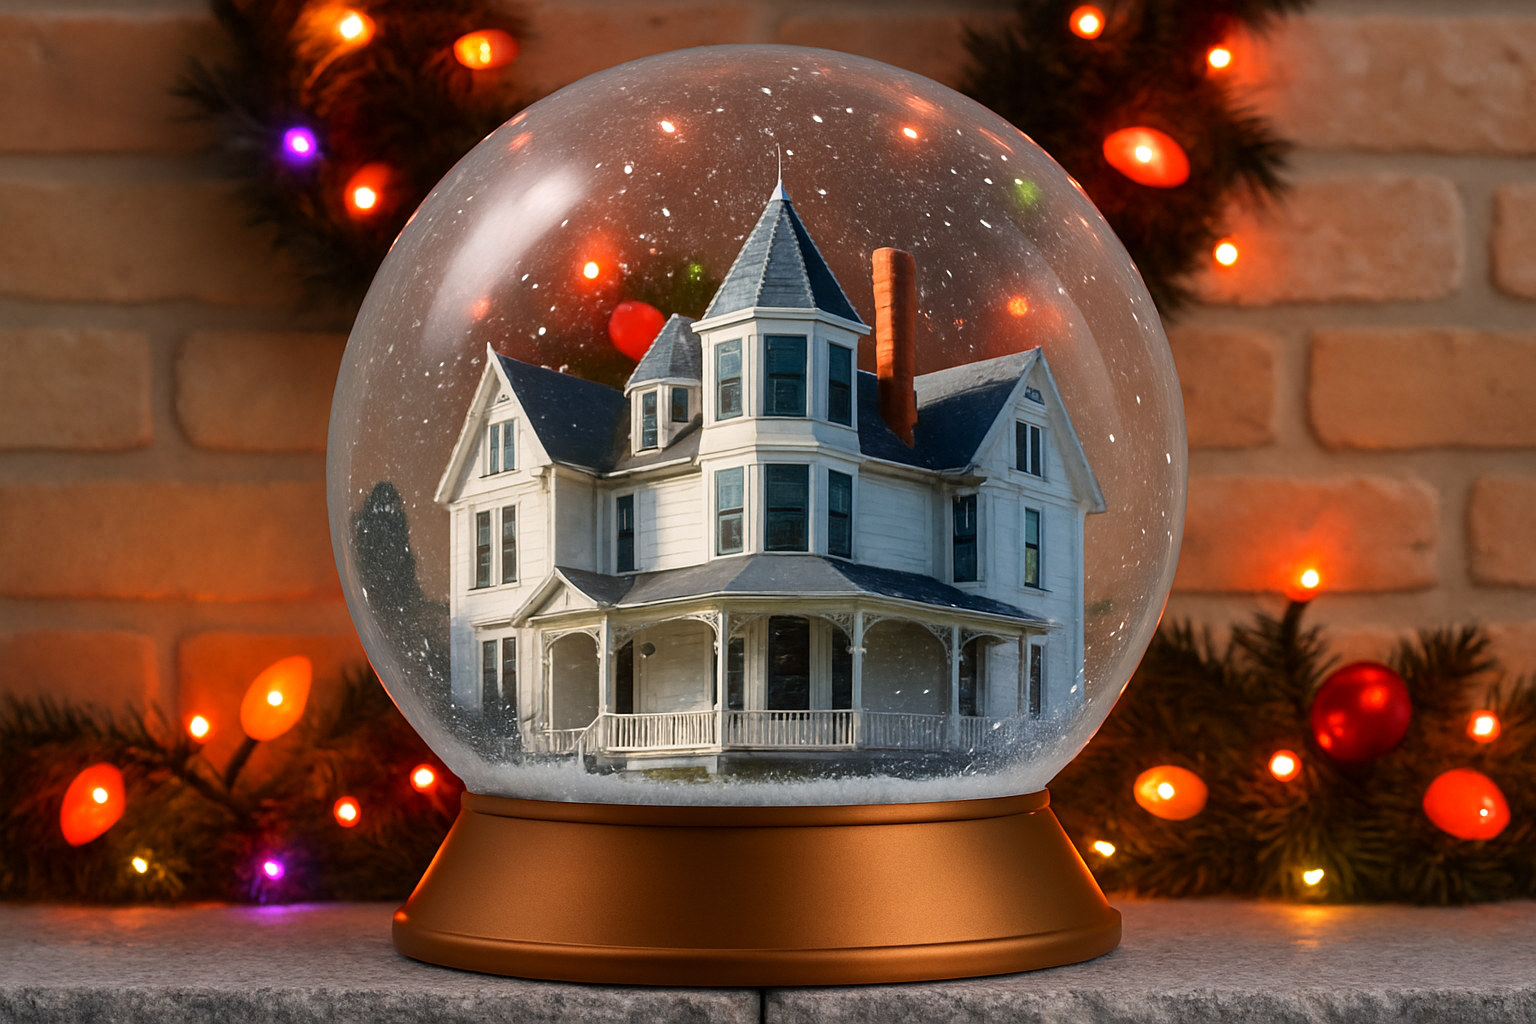
Once your globe is framed, it’s time to bring it to life with an object or scene. Whether it’s a cozy holiday house or a retro figurine, extracting the object from its background and placing it into the globe is straightforward: Select, Cut, and Paste.
Adding Optical Distortions
Consider the realistic nuances—those subtle tweaks that make a globe appear glass-like. Using the ‘Lens Correction’ filter, set at minus 40, gives your object that slightly distorted yet charming look. It’ll be as if your object is genuinely encased within curvature.
Construct a Base
Of course, a snow globe isn’t complete without its base. Using a simple rectangle drawn at the bottom with the Rectangular Marquee tool, paired with colors like dark and light browns, we craft a base. Take a detour to the fibers filter for a wood-like texture, and what do you have? A sturdy wooden stand like you’d find in your grandparents’ attic.
Sculpt the Metal Finish
To achieve the look of fine metal, consider utilizing the ‘Gaussian Blur’ paired with the ‘Motion Blur’—it’s these finishing touches that turn an okay project into a masterpiece. Layer blends, opacity adjustments, and repeated brush strokes combine to create a polished metallic look.
Final Flourishes and the Background
Every masterpiece needs the right setting. Integrate a background image that complements and uplifts your snow globe. Maybe it’s a mantelpiece full of festive cheer or a twilight cityscape; the only rule is that it should make your creativity shine.
Press a few keys—Ctrl + A and Ctrl + C (Command for Mac)—and in mere steps, your background moves from one document to your snow globe setting, sliding right above a black canvas.
Add the Flurry
It wouldn’t be a snow globe without snowflakes, would it? By navigating through some noise with the ‘Add Noise’ filter and tweaking percentages using ‘Gaussian Blur’, the perfect flurry of snow falls softly over your globe scene. Adjust the levels; let it snow its little heart out.
Why This Project Matters
In an era of digital wizardry and pervasive multimedia, creating art that feels personal, tangible, and whimsical is precious. Crafting a personalized snow globe using Photoshop doesn’t just celebrate the art of digital manipulation—it heralds the wonder of imagination.
So, gear up with your Photoshop palette, and go make a snow globe that’s merrily yours!


