Nostalgia Meets Creativity: Turn Your Photos into Stunning ’30s & ’40s Inspired Artwork
Ah, the golden age of tourism posters—the 1930s and 1940s. An era when travel wasn’t just a way to get from A to B, but rather an invitation to explore the world through beautifully designed images. These posters were not only functional but also a staple of art, featuring clean shapes, bold vibrant colors, and iconic images. It’s no wonder we still draw inspiration from these timeless pieces. Today, I’m excited to take you on a creative journey where you’ll learn how to transform your photos into a custom retro tourism poster using Photoshop’s magical wizardry.
Here’s how to evoke that classic aesthetic with a modern twist—without needing a time machine.
Setting the Stage: Choosing and Preparing Your Image
The journey begins with selecting or creating an image that will serve as the cornerstone of your design. While you can use any photo that tickles your fancy, following along with a provided image can make learning a bit smoother. Be sure to adjust brightness and contrast first to maximize the tonal range and prepare it for further edits.
Cropping for Impact
You’ll want to crop your photo to the perfect aspect ratio for drama and elegance. Utilize the crop tool, ensuring your resolution is set to at least 300 pixels per inch for print perfection. Maintain your image’s aspect ratio while setting the dimensions so you don’t skew or stretch your art into oblivion.
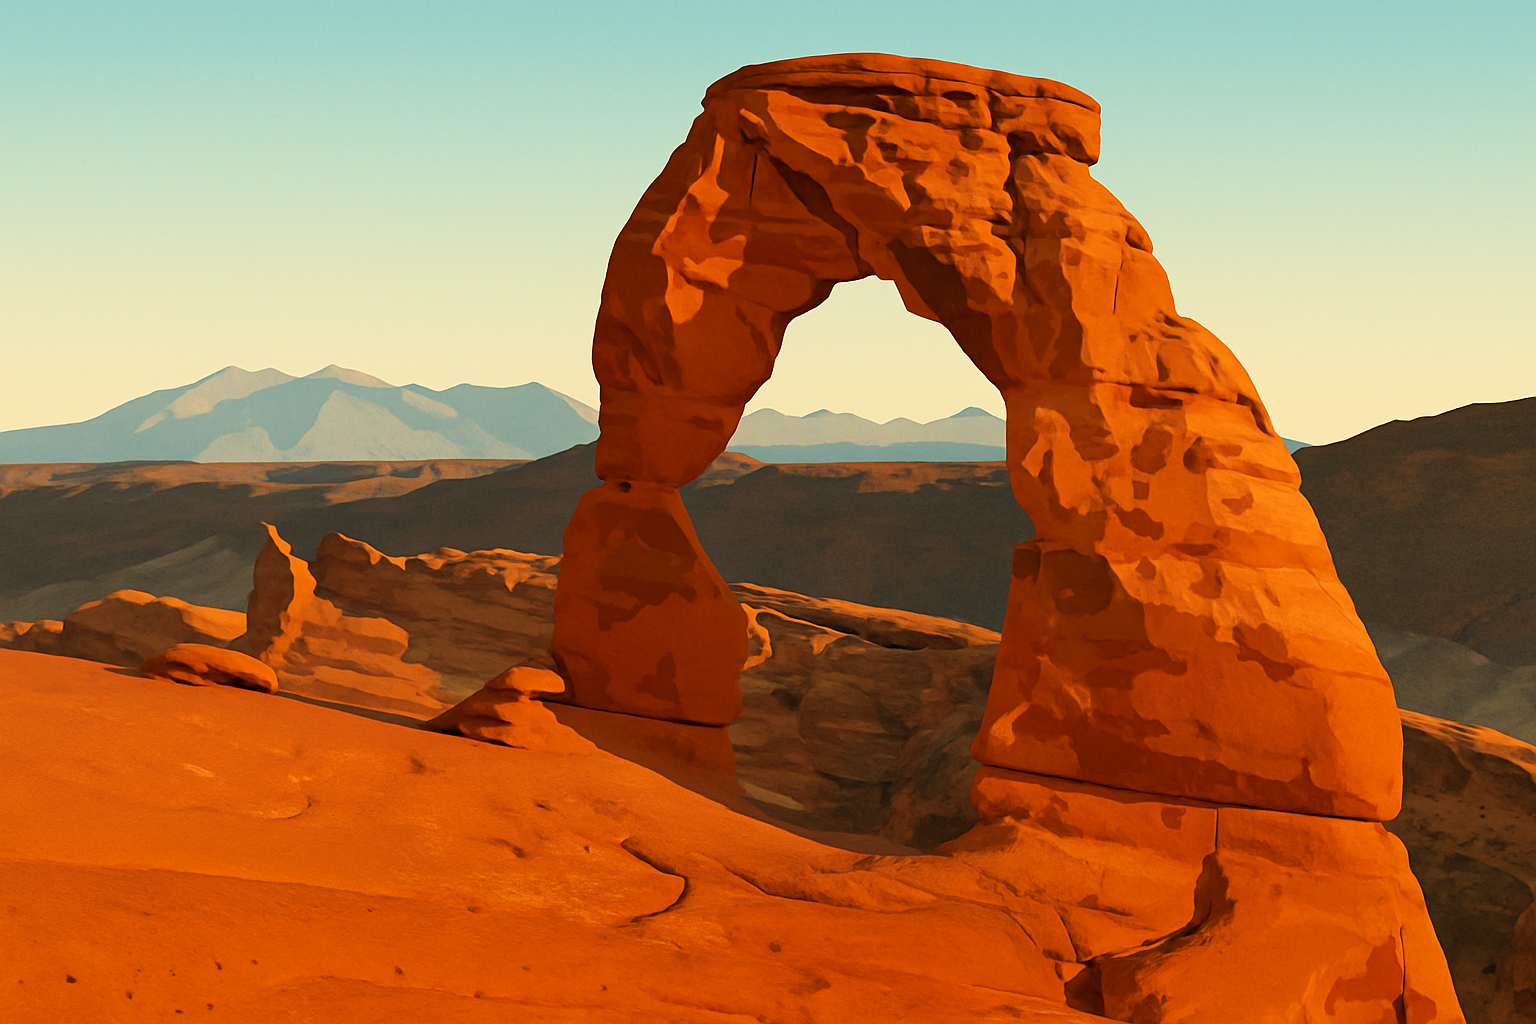
Adding Artistic Flair with Filters
Now comes the fun part—filters! Using the filter gallery in Photoshop, go rogue with the artistic filter selection. The “Cutout” filter is your friend here; it turns your regular photo into something with clean edges and a simplified color palette, reminiscent of those vintage gems. Adjust the levels, edge simplicity, and fidelity to your liking for a truly custom look.
Paint the Sky: Gradient Magic
For skies that make you sigh, apply a gradient effect using the magic wand tool and gradient editor. This will give your poster that smooth, nostalgic gradient sky often seen in the posters of yore. Choose colors that complement the tones in your image—think clear blues or dreamy yellows.
Text That Shouts, “Look at Me!”
Fonts are an essential element in achieving that retro feel. With a selection of retro fonts to add text, your poster starts to come alive. Position your text with care—layer on strokes and gradients if you feel daring. Your words are like seasoned performers, stealing the spotlight without overpowering the stage.
Enhancing Readability
A trick for making your text stand out is to simplify or darken the area behind it. This can be achieved by selecting areas to fill with solid colors. It’s a fine balancing act—your text should be legible without taking center stage from your stunning image.
A Frame to Remember
Finally, give your poster that finishing touch by adding a delicate white border. The white frame helps focus the eye and provides a contrast to your vibrant colors. Make your canvas slightly larger to accommodate this border, ensuring it frames your masterpiece perfectly.
Conclusion: Your Personal Portal to the Past
And there you have it—a dive into the past resulting in a custom tourism poster that’s both a tribute to vintage designs and an expression of your creative prowess. Whether it hangs on your wall or serves as a gift, this project provides a rich canvas for experimenting with colors, shapes, and nostalgia. So go ahead, channel the timeless artistry of the 1930s and 1940s, and let your creativity travel through time.
Happy designing, creatives! Now, take what you’ve learned and turn those fascinating travel memories into art-worthy posters.
Remember, always let your imagination lead the way. Because in the world of design, it’s the journey as much as the destination that counts.


