Dive into the Mystical World of Fog and Mist with Photoshop
Who doesn’t love the allure of a misty morning, or the ethereal beauty of fog blanketing a landscape? Sometimes, though, Mother Nature doesn’t cooperate and those ethereal scenes have to be summoned with the magic of Photoshop. Today, we’re going to delve into how you can transform any photo into a dreamscape with the power of fog and mist, using just a few filters and adjustment layers.
The Art of Creating Realistic Fog and Mist
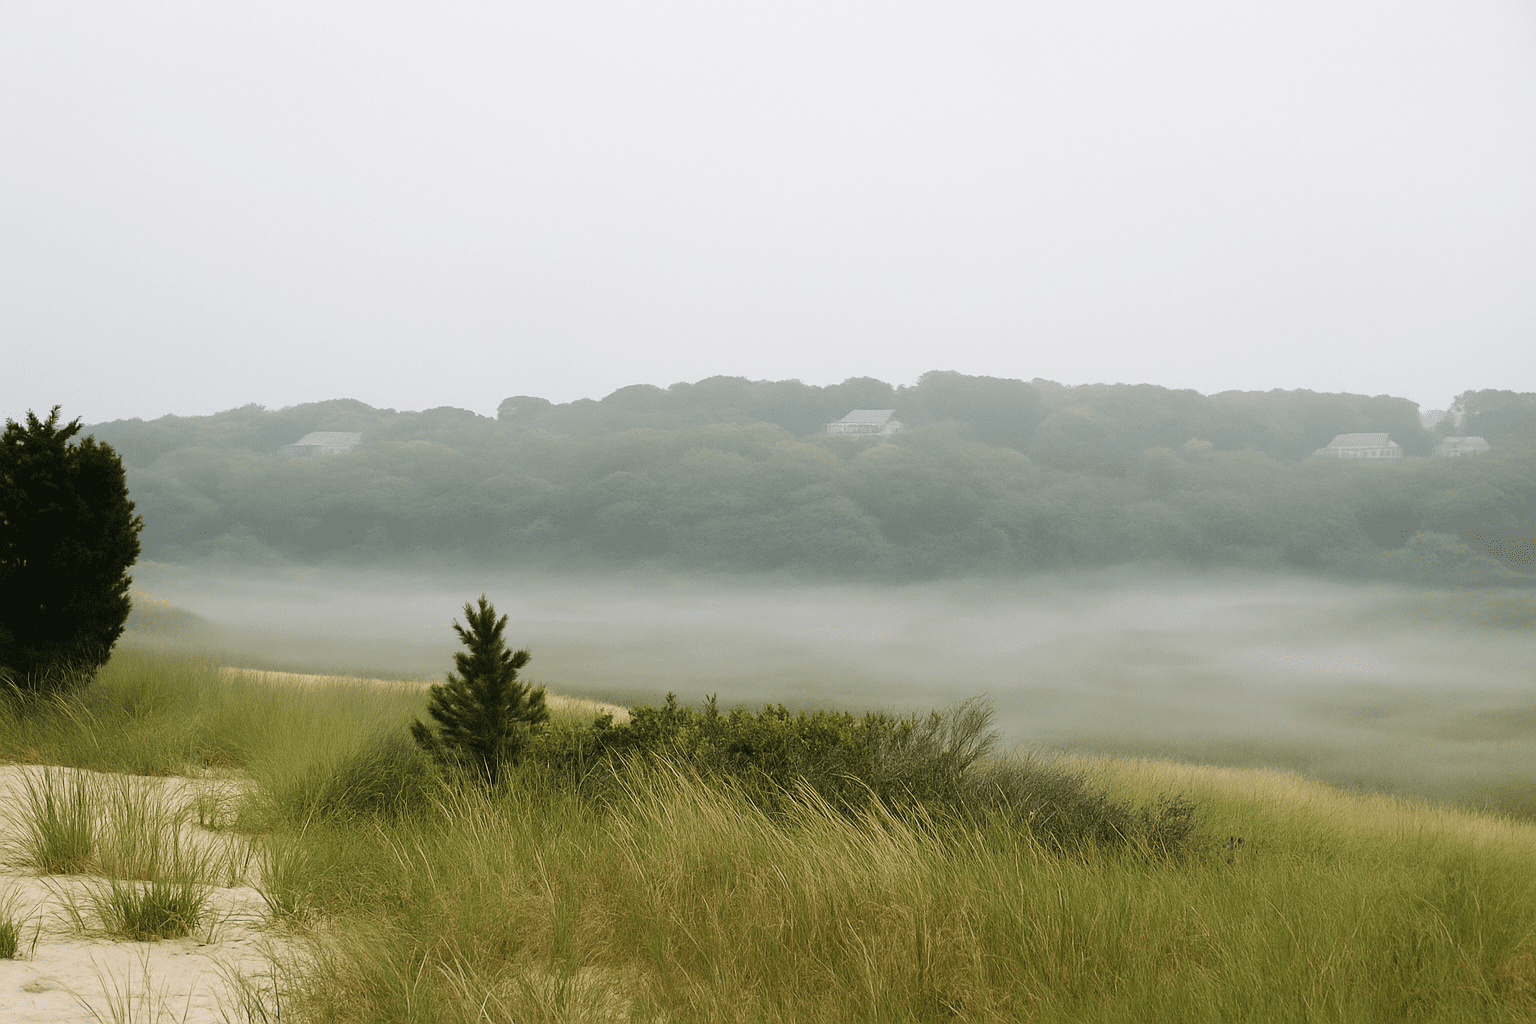
Fog and mist are not only atmospheric but also lend depth and mystery to scenes. In genuine foggy conditions, elements farther away become lighter and lose some of their color density. Our mission today: emulate that same vibe in an image where fog was MIA. Let’s explore how layers, gradients, and filters can help achieve this.
Protect the Original Image
Guarding your original image is crucial. Start by duplicating the base layer. This way, you can always go back to square one if the digital forecast takes a wrong turn. Hit ‘Ctrl + J’ or ‘Cmd + J’ on a Mac to duplicate your layer swiftly.
Helming the Hue/Saturation
Next, let’s tweak some hues for maximum misty potential. Add an adjustment layer by clicking the icon, then select ‘Hue/Saturation’. Tone down the saturation to -100 and brighten the lightness to +100. Trust the process when it turns stark white — it won’t stay that way for long.
Introducing the Gradient Tool to the Mix
Why let the bottom half of your image miss out on the fog party? Enter the gradient tool, your best friend. Choose a black-to-white gradient and make sure linear is your go-to mode. By dragging from bottom to top while holding the Shift key, you’re designing a sophisticated gradient mask that reveals the base of your photo while transforming the upper portion into foggy fantasy.
Painting the Landscape
With the brush tool, you have the chance to lift some of that fog from the mat of ground elements, trees, or structures. Give them their due place on a brighter stage. Opt for a brush with a decent diameter and let your hand become the artist of contrast and clarity amid the mist.
Dwelling Into Mist on Another Layer
Moving on, it’s time to add a layer of ground mist for that robust atmosphere. Creating a new layer, use the rectangular marquee tool to designate where the ground mist consort will reside. A gentle feather, say 32 pixels, will ensure your misty streaks blend in seamlessly.
Let’s Compare Blend Modes
Switch up the blending modes for pronounced subtlety. By adding clouds filter while using blend modes, the fine line between digital and natural will blur, mimicking the randomness of real mist. Bringing down the opacity to allow whispered hints of the original photo to shimmer will enhance realism.
Elevated Depth with Mist Layers
Why stop at one mist layer when there’s potential for depth upon depths of veil-like layers? Create variations in the size and position of your mist layers and blend them until they resonate with the landscapes depth. Tweak and repeat for that final wispy note.
The Final Flourish
In the end, a vivid transformation from a plain to a poetically foggy world becomes palpable. Not only does it lend atmosphere but it reimagines any otherwise mundane image into something invitingly mysterious.
With this guide, you can master the art of painting with fog and mist in Photoshop—developing a creative superpower fit to lure any beholder into the realm of digital envy.


